Making A Simple Sauerkraut In A Fermentation Crock
Making this easy fermented sauerkraut recipe in a fermentation crock is simple, fun, and takes out most of the guesswork. Plus, it’s healthy too!
Making an easy fermented sauerkraut recipe in a fermentation crock is well EASY.
I’ve perfected this sauerkraut recipe, and it tastes great, and it is much less intimidating than other recipes out there.
Making sauerkraut in a fermentation crock keeps the job simple, it takes out a lot of the guesswork, and it’s super fun.
This easy fermented sauerkraut is a staple in our house, and I am confident this recipe will be a keeper in your household too.
This article may contain affiliate links for your convenience, and as an Amazon Associate, I earn from qualifying purchases at no extra cost to you. You can read the full disclosure policy here.
Is Sauerkraut Good For You?
Sauerkraut is fantastic for you but when I was a little girl I hated sauerkraut, or anything that was fermented.
My heritage is part Polish, and I also have family that is German, so it seems like ‘kraut’ and other pickled and fermented foods were everywhere.
I have since come to love fermented foods and this easy fermented sauerkraut recipe is my favorite.
When it comes to gut health and the health of your digestive tract, fermented foods can be quite beneficial.
Our gastrointestinal tract (GI) is loaded with bacteria that help to keep the body healthy by producing and synthesizing vitamins, killing off harmful bacteria, and reducing inflammation.
Fermented foods, like this easy sauerkraut recipe, contain good bacteria that help kill off bad bacteria they we ingest everyday.
The bacteria in this easy fermented sauerkraut recipe helps lower the pH of our intestines, which then makes it difficult for bad bacteria to survive.
The Zen of Making Sauerkraut
I really enjoy this fermentation sauerkraut recipe because, not only is it good for me, but it tastes really great.
There are so many ways to make sauerkraut, and you can fancy it up with all kinds of added ingredients. However, I’m a purist at heart, and I don’t like to mess with this simple, easy recipe.
I concentrate on finding the most quality ingredients, and then I focus on the process by carving out some quality time to slowly and methodically maneuver through the steps of making this easy fermented sauerkraut recipe.
When I make this recipe, it’s almost like a meditative process for me. The cutting, chopping, and mixing… May I suggest you do the same?
Tips for Success
Read through this easy fermented sauerkraut recipe a couple of times, so you have a good feel for what to expect.
Look for the best quality ingredients you can find. I promise it will be well worth it.
Take your time and enjoy the process of making this easy fermented sauerkraut recipe. You won’t be disappointed.
Recipe Notes
- This fermented sauerkraut recipe uses a fermentation crock. You do not need a crock to make sauerkraut but I find it makes it easier, and they are just so dang pretty!
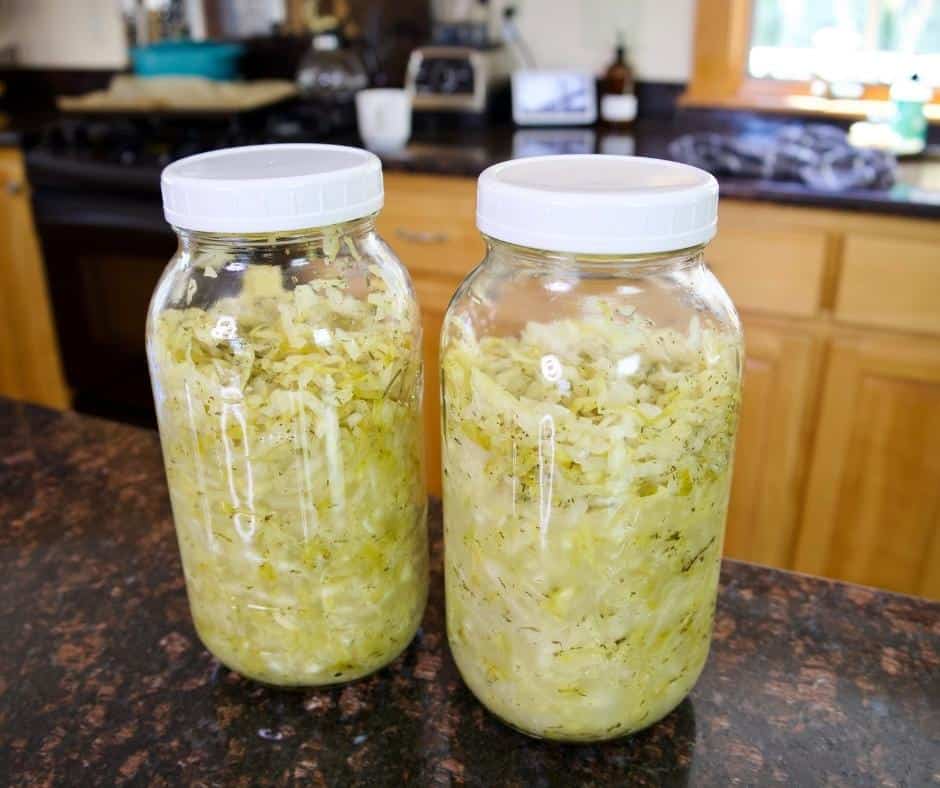
- This easy fermented sauerkraut recipe makes quite a large amount. I use a 5 liter crock for the fermentation process, and then I put the kraut into large tall mason jars to store in the fridge.

So are you ready to make some awesome amazing sauerkraut? I am excited to share this easy fermented sauerkraut recipe with you. Let’s get started.
Kitchen Tools Used
large sharp knife – to cut the cabbage
very large non-metalic bowl or bucket – use this to mix and mash the cabbage
5 liter fermentation crock with glass or stone weights – to cover the cabbage mixture
2-3 large tall glass jars or mason jars with covers
wooden spoon (non-metalic) – to transfer kraut
Simple Sauerkraut Ingredients
NOTE: For the exact measurements, full recipe, and nutritional information, please see the printable recipe card below.
- Cabbage – the basis of all great sauerkraut and remember, the fresher the better
- Salt – this helps bring out the water from the cabbage for fermentation
- Herbs – for nutrients and beautiful flavoring
optional ingredients to consider
As I mentioned there are many different ways to jazz up your sauerkraut, such as using the optional ingredients here.
But truly, I find the best sauerkraut is the simplest sauerkraut, and this easy fermented sauerkraut recipe is just that.
Start simple and then, if you wish, experiment with other ingredients down the road.
- Additional veggies – like carrots, cucumbers, red onions, etc.
- Additional herbs – like dill, parsley, etc.
- Brine – sometimes this is needed for more liquid, but more often than not, you will not need it. I will discuss this further below.
How To Make Simple Sauerkraut
PREPARATION
Rinse out your fermentation crock and make sure it is very clean. Set aside.
Wash thoroughly your glass weights, and make sure those are very clean also. Set aside.
Gather up your large bowl, wooden cabbage masher, glass containers, and lids. Make sure everything is clean.
INSTRUCTIONS
Gather up the cabbage heads, pull off some of the older cabbage leaves from the outside, and wash the leaves and cabbage thoroughly. Do not discard the pulled-off leaves.
Cut each cabbage head in half, and then in quarters, and remove all of the inner cores.
Measure out the salt and herbs, and set aside.
Next, slice each cabbage quarter into thin, string-like shreds, approximately 1/8″ thick, and place in the large bowl.
Add salt to the cabbage, and mix with a wooden spoon or your hands to combine.
(This is the fun part) Using the wooden cabbage masher, or your hands, pound, mix, and squeeze the cabbage until it releases its juices and you are able to draw out as much liquid as possible.
NOTE: This will take some time, so be patient. This is the meditative process I was talking about. Relax, mix and mash, and you will slowly see the liquid forming at the bottom of your bucket. Keep going until you feel you’ve drawn out as much liquid as you can. Your arms may get tired, that is okay! Just rest, take a minute, and go at it again. Enjoy the process!
Once you have as much liquid as you can get, transfer the mixture to your fermentation crock.
Using your cabbage masher, intermittently push the cabbage mixture down tightly so that there are no big spaces or air pockets.
Once you have transferred all of the cabbage mixture, pour all of the liquid into the fermentation crock.
Once again, push the cabbage down tightly and try to get as much of the cabbage mixture to sink under the liquid.
Next, take several of the whole discarded cabbage leaves that you washed in the beginning, roll them up individually, and place them over the cabbage mixture, again trying to get everything under the liquid.
Finally, place the glass or stone weights over the entire mixture, pushing everything under the liquid.
At this point, if you see there is not enough liquid to cover all of the cabbage, feel free to add more water until the weights are covered.
Fill the water seal area of your fermentation crock with water, and cover the crock with the lid.
Keep your fermentation crock filled with cabbage in your kitchen at room temperature for 5-6 days, and then move it to a cooler place for 3-4 more weeks.

5-Day Rejuvenation Diet & Guide
Jumpstart your health with the Rejuvenation Diet. A 5-day program designed to help you springboard into a healthy lifestyle.
Notes About The Fermentation Process
I put my crock in a large shallow bucket to protect the surface the fermentation crock is sitting on.
When the fermentation process begins, the crock will gurgle and bubble, and sometimes its liquid will spill over. This is okay, this is what you want it to do. I would just protect your surface.
After 5-6 days at room temperature, I move my fermentation crock to my basement, where it is dark and cool. But you can move your crock anywhere it is suitable, like a garage or closet, if you do not have a basement.
You will occasionally need to add more water to the water seal area of your fermentation crock, as the water does get low and evaporate.
So peek in on your crock, especially when it is tucked away in a dark area of your home. Don’t forget about it altogether!
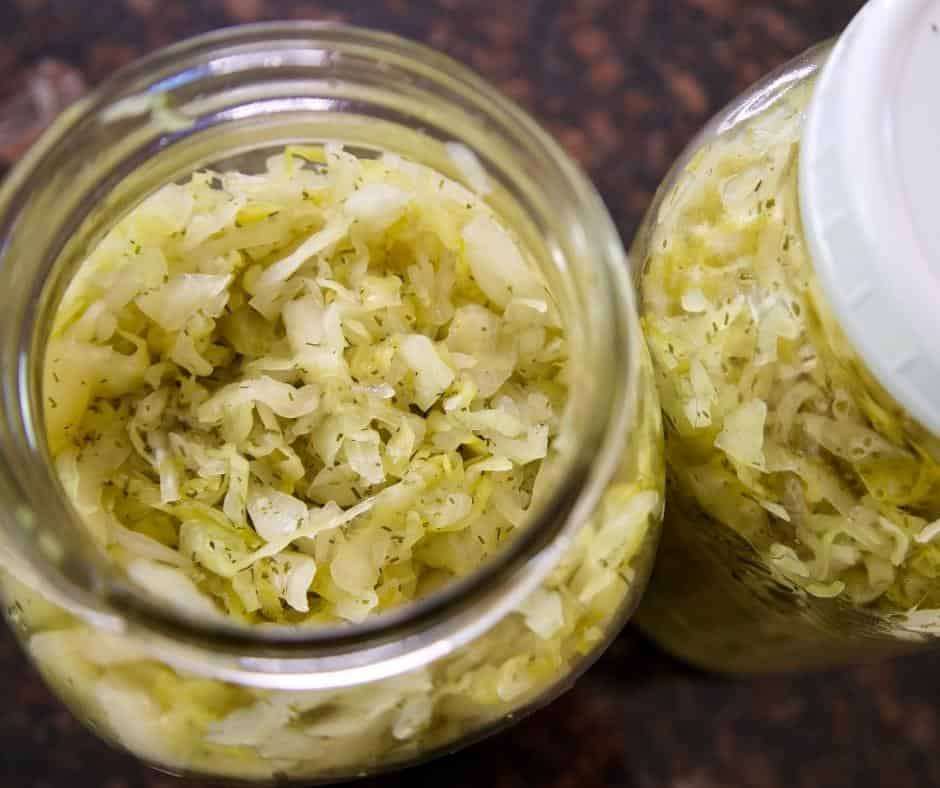
After 3-4 weeks (Yes, you heard that right. Time equals ferment), you can bring your crock out of the darkness and transfer the sauerkraut to your large mason jars or glass containers.
Place the lids on securely and store in the refrigerator. Enjoy!
More Healthy Recipes and Wellness Support


How To Store
Once the sauerkraut is in the mason jars with the secure lids, it is best to store in the fridge.
Your cabbage will last in the fridge for approximately 4-6 months as long as the lids are secure.
Whenever you open your jar of sauerkraut to use it, look at it closely and smell it.
Like I mentioned, your kraut can last for months in the fridge, but it is never a bad idea to take that one extra step to just make sure.
If for some reason your sauerkraut has gone bad (perhaps the lid was not put on properly), you will more than likely know it.
The kraut will be discolored and have an off-putting smell to it. But as long as you store your sauerkraut in the fridge, with a tight fitting lid, your kraut will last a good long time.
VIDEO: Easy Fermented Sauerkraut Recipe

Let’s Connect
If you make this simple Easy Fermented Sauerkraut recipe, I would love if you give it a 5-star rating and comment below. I’d love to hear from you.
You can also follow me and my life on Cape Cod on my Instagram page @upsidelane.
Printable Recipe Card
Easy Fermented Sauerkraut Recipe
Ingredients
Equipment
Method
- Wash cabbage heads, and pull off any old or loose leaves. Do NOT discard those outer leaves.
- Quarter each cabbage head, and remove the hard core.
- Shred all of the cabbage and place it in your non metal large basin.
- Add salt and dill.
- With your hands massage the cabbage until it has reduced in half and you have produced quite a bit of liquid at the bottom. NOTE: This will take a while so be patient, and take your time. Enjoy the process! 😉
- Add the bay leaves to your reduced cabbage mixture.
- Scoop the cabbage into your fermentation crock, alternatively using the cabbage smasher to pack the cabbage down tightly.
- Once all of your cabbage is in the crock, pour all of the liquid into the crock, and continue to use your cabbage smasher to get the cabbage under the liquid. NOTE: If you are having a difficult time getting all of the cabbage under the liquid, feel free to add some filtered water.
- Roll the outer cabbage leaves that you saved, and place them on top of the cabbage in the crock to help the shredded cabbage stay under the liquid.
- Place the glass weights on top of the rolled cabbage leaves and press down hard. NOTE: Try to push down hard so the glass weights are also under the liquid, but if they are not completely submerged, that is okay.
- Fill the water seal (rim around the crock) with water, and place the top on.
- Set crock in a plastic bin to protect the surface it will be sitting on while fermenting.
- Let your crock sit in your kitchen at room temperature for 6-7 days before placing it in a dark, cool area for 3 weeks. NOTE: I put my crock in the basement but you can also place it in a dark closet that stays fairly cool.
- After about 30 days, open the crock and remove the glass weights and rolled cabbage leaves. With your long wooden spoon, scoop out the sauerkraut and place it in the 2 large mason jars.
- Tightly seal the mason jars with plastic lids, and store in the fridge. NOTE: Sauerkraut will last in the fridge for 4-6 months as long as you tightly seal the lid after each use. ENJOY!
Notes
- The fermentation process works best when you stay away from metal utensils and bowls. This is why I use a large plastic basin and wooden spoons.
- You can ferment longer than 3-weeks but I find this timing to be perfect. You may want to play according to your tastes.
- As I mentioned, sauerkraut will last in the fridge for about 4-6 months but just make sure the top is on securely each time you use. Air will enhance the spoiling process.
This looks amazing! I think I have to try this soon…
Yes! So easy. Let me know how it goes! 😉