The Best Soft Sourdough Pretzels
Make delicious sourdough pretzels at home. Learn to create that iconic and distinctive shape, the signature dark glossy crust, and a perfectly tender interior.
NOTE: This post has been updated since it was originally published on June 9, 2022.
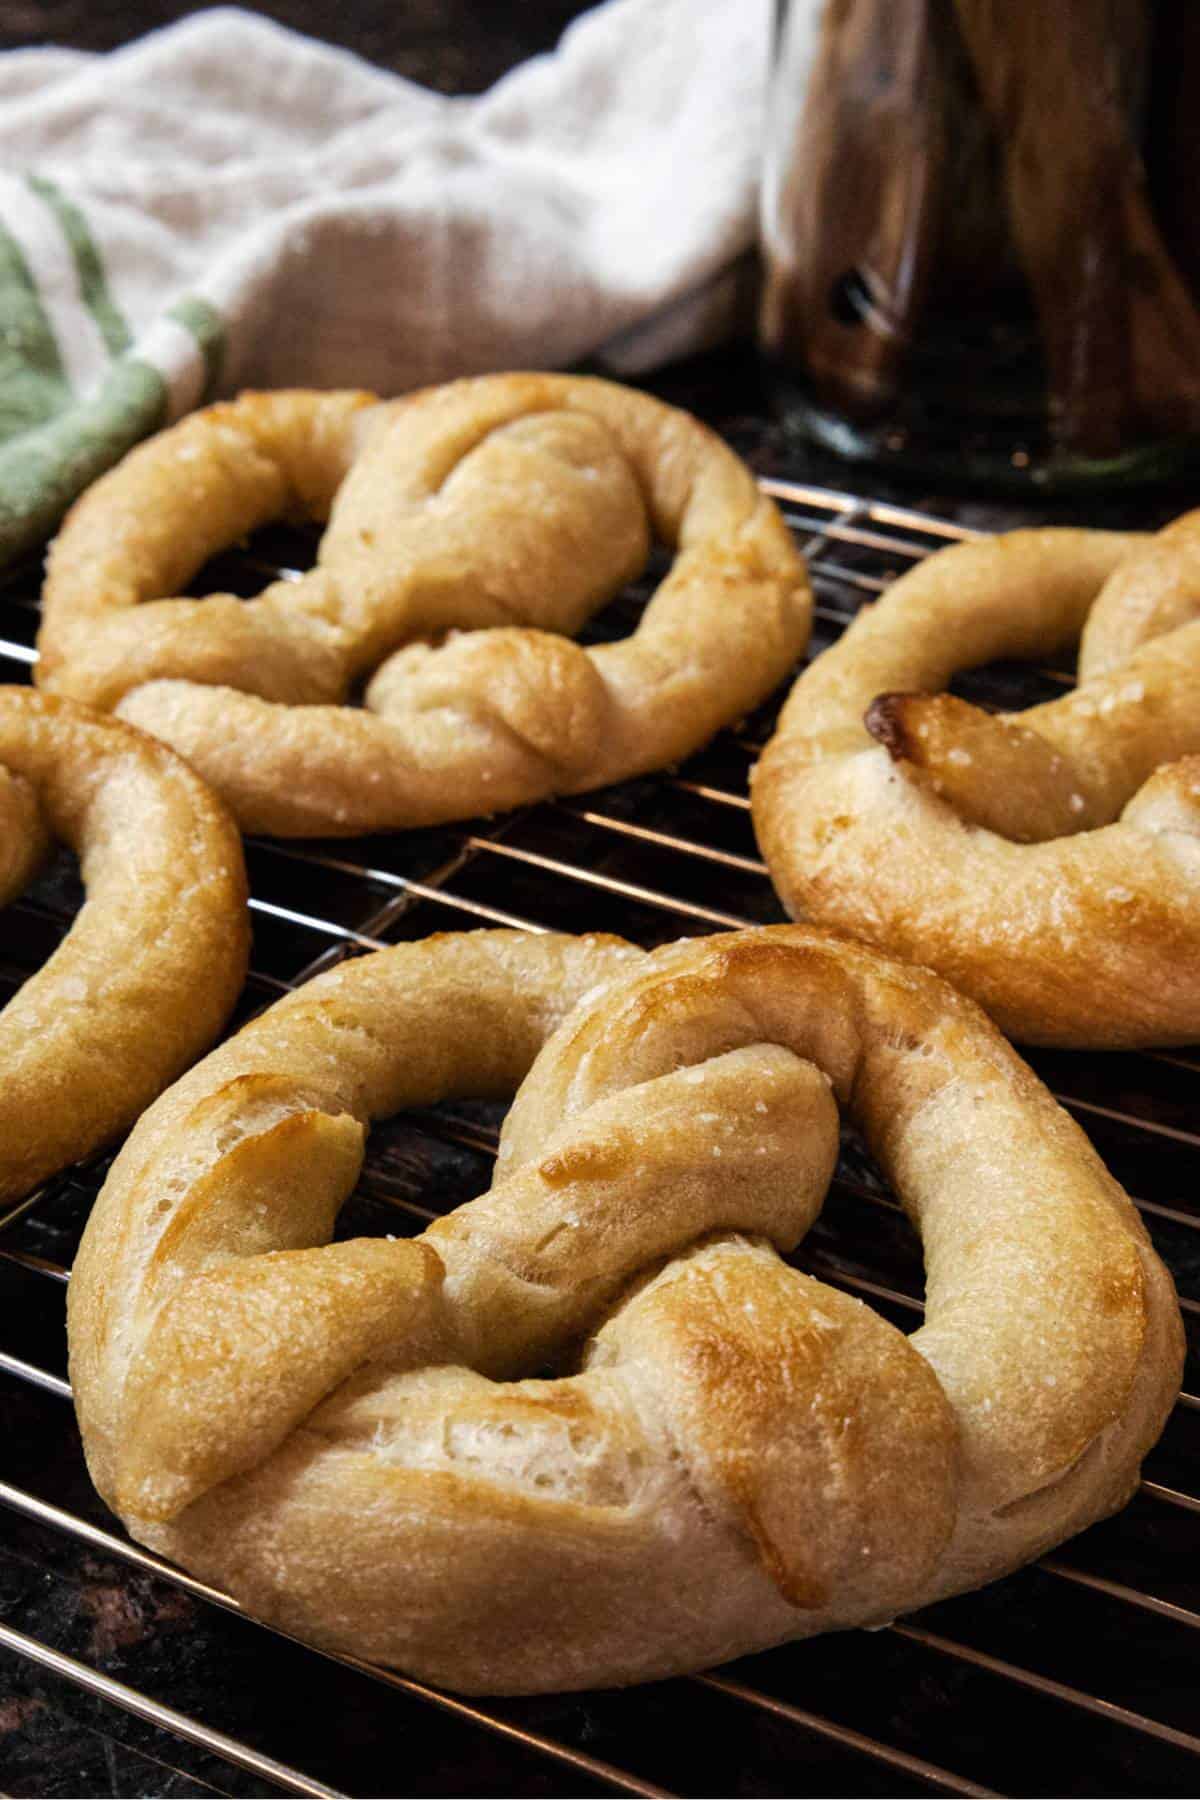
Making your own soft sourdough pretzels is not only delicious but it is also healthier for you than store-bought brands. With its golden crust, coarse salt, and a dense chewy texture, these homemade pretzels are pure satisfaction.
Pretzels are one of my favorite snacks, and they are incredibly fun to make!
I’ve always enjoyed all types of pretzels – hard, soft, crunchy, and chewy. Their distinct taste sets them apart from regular bread, which inspired me to try making them at home.
Making soft sourdough pretzels turned out to be the perfect solution. They are not only delicious but also relatively healthy, containing no oils and very little fat.
I tried making sourdough pretzels a couple of different ways and eventually discovered that using my sourdough starter makes this pretzel recipe outstanding.
There really is nothing like a fresh, homemade, soft, sourdough pretzel.
This article may contain affiliate links for your convenience, which means if purchased, I receive a small commission at no extra cost to you. You can read my full disclosure policy here.
Recipe Tips Before Getting Started
- Active starter. Make sure to use a very fresh and active sourdough starter. You could use sourdough discard as long as it is bubbly and active.
- Windowpane test. When mixing the pretzel dough, use the windowpane test. Stretch the dough out with your fingers, and if you can see light shining through, the dough is ready.
- A warm place to rest. The pretzel dough should rest in a warm area of your home either overnight or for 10-12 hours.
- During the winter time, I set this pretzel dough in my microwave, which is above my stove and I leave the stove light underneath the microwave on low. I find this is the perfect temperature for all my bread-making needs during the winter.
- You can also let this pretzel dough rest in your oven with the light on. This is a warm place for bread to rest and rise during the cooler winter months.
- Rolling. To keep the dough from shrinking back too quickly, roll all of the dough into ropes first before shaping. This allows the gluten to rest before you start twisting the dough into pretzels.
- Various Shapes. This pretzel dough can also be shaped into small bite-sized rounds or pretzel knots. Use your imagination and be creative during the shaping process!
- Blanching. Although it is not completely necessary to blanch the pretzels in boiling water before baking, I highly recommend you do not skip this step. It is what gives the pretzels that beautiful golden color.
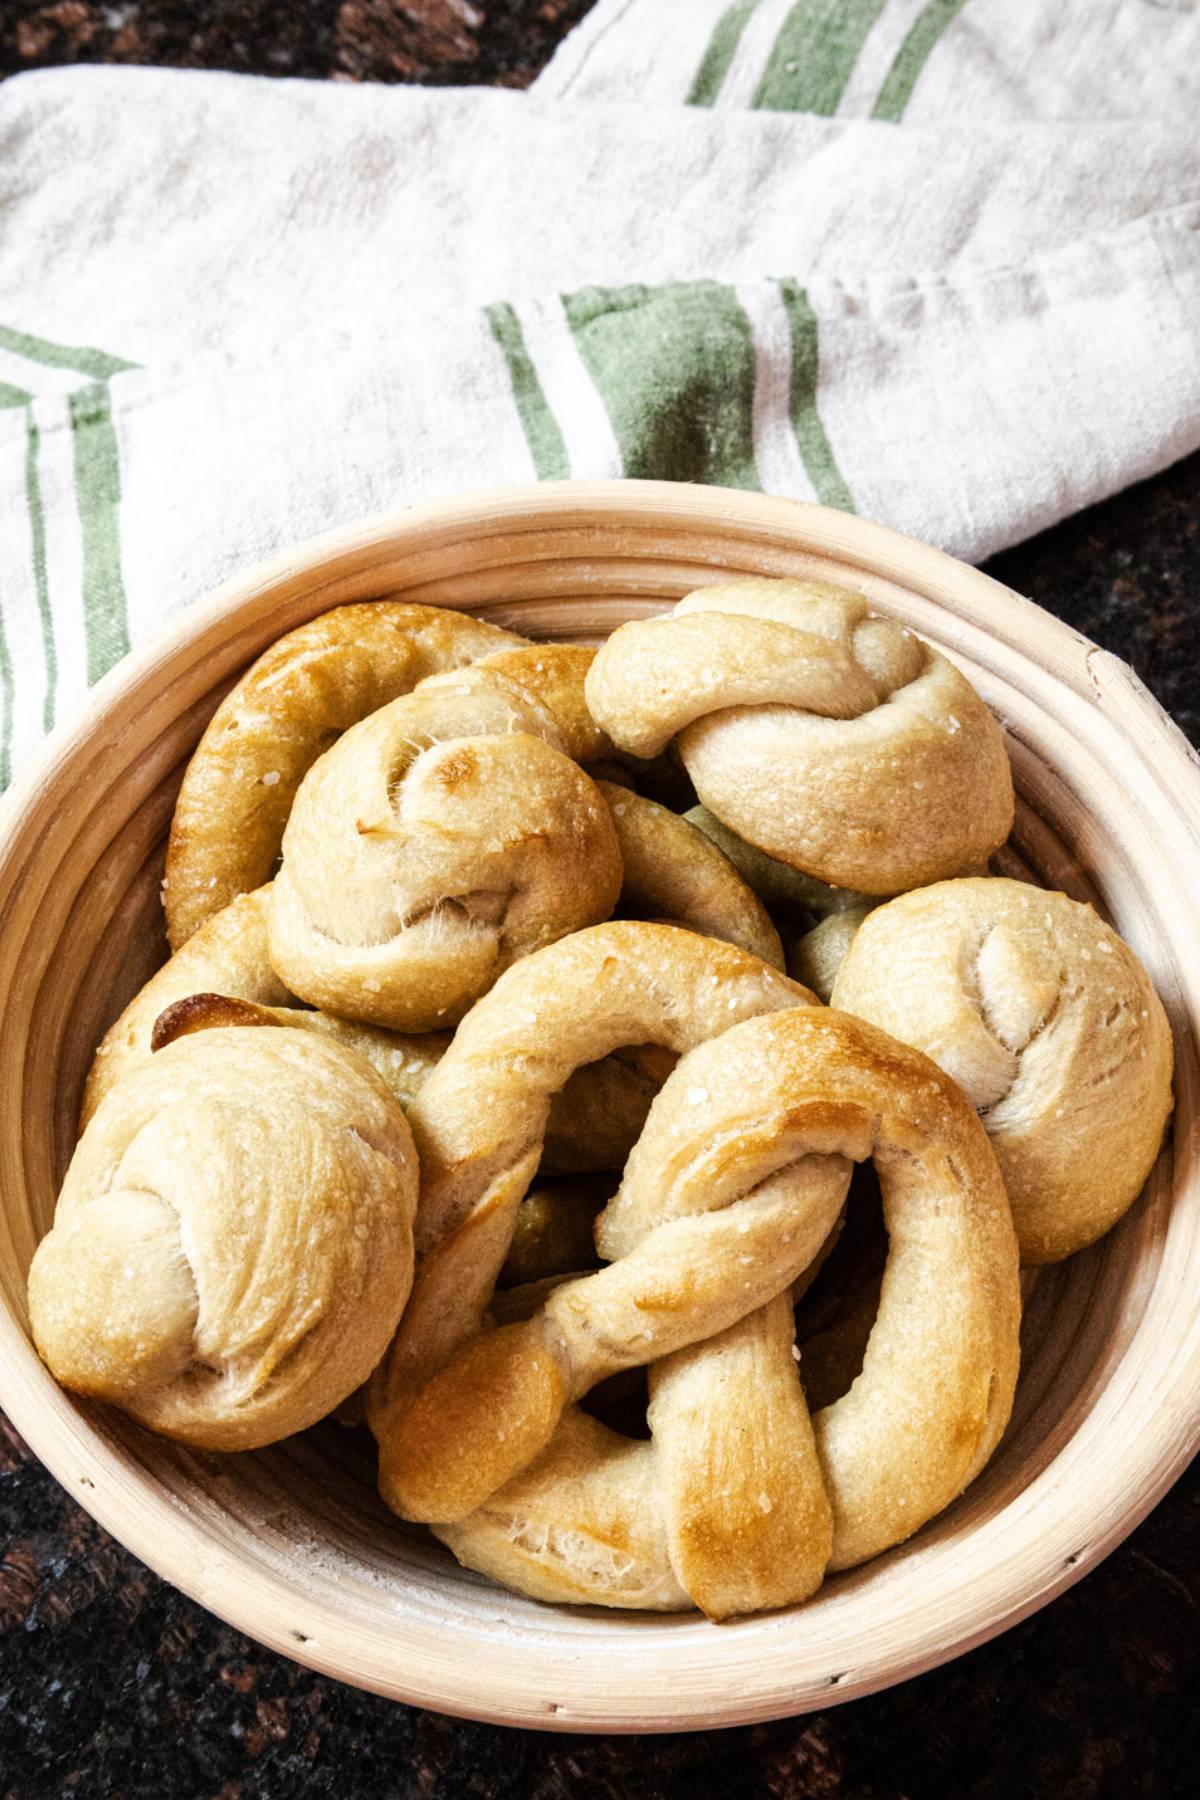
How To Shape A Soft Pretzel
- Make a large U-shape with your rope.
- Take each end and twist them around each other twice.
- Bring the ends of the dough down to the bottom part of your U-shape and press them lightly onto the bottom part of the dough.
- Repeat for each pretzel round.
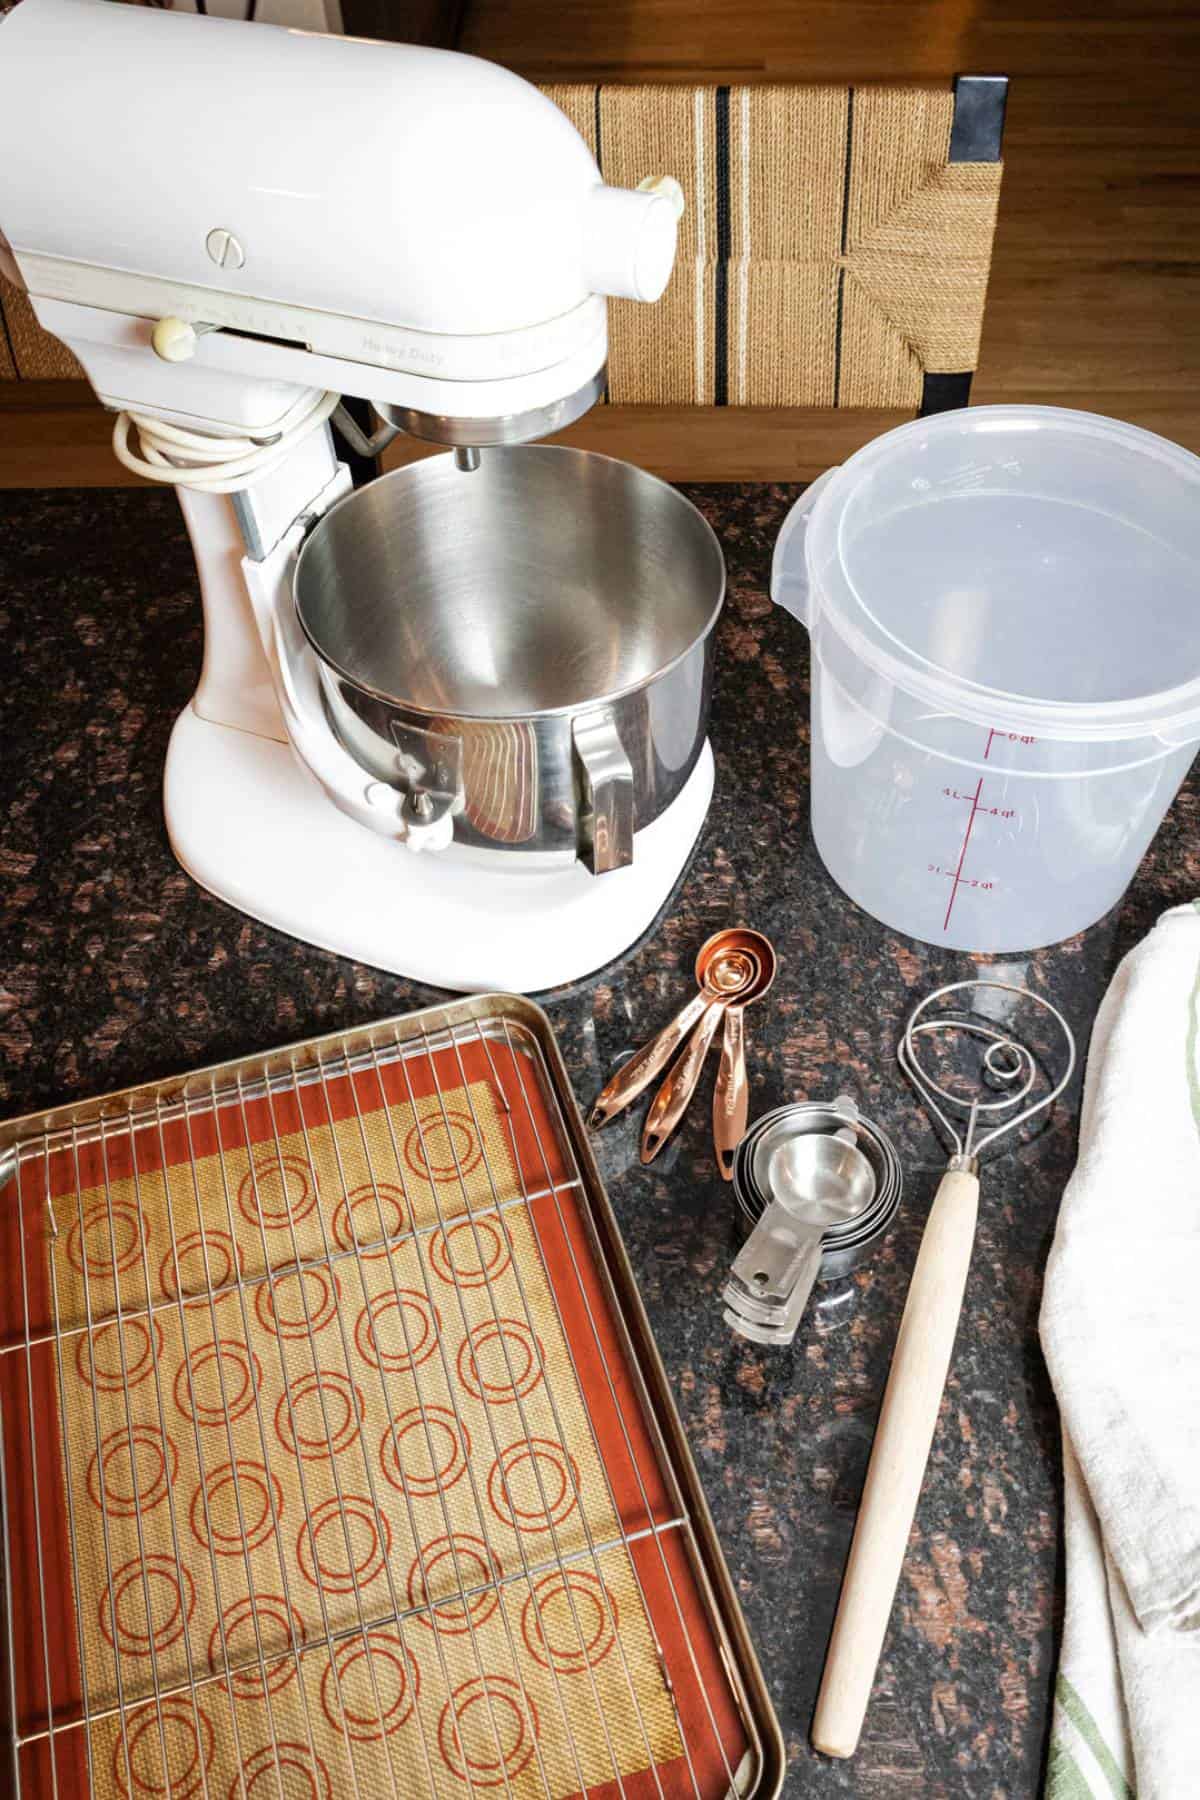
Kitchen Tools Used
Strong Stand Mixer. One that has a dough hook attachment.
Large pot. To blanch the pretzels.
Food storage container with lid. You will need this to let the pretzel dough rest overnight.
Danish dough whisk. These work beautifully for many bread-making needs but if you don’t have one, you can also use a wooden spoon or silicone spatula.
Dough scraper/cutter. These make it very easy to cut the dough into sections but you can also use a knife.
Basting brush. To spread a touch of vegan butter to the tops of the pretzels and sprinkle with salt before baking.
Measuring cups and spoons.
Baking pan.
Silicone baking sheets or parchment paper.
Wire rack.
Storage container.
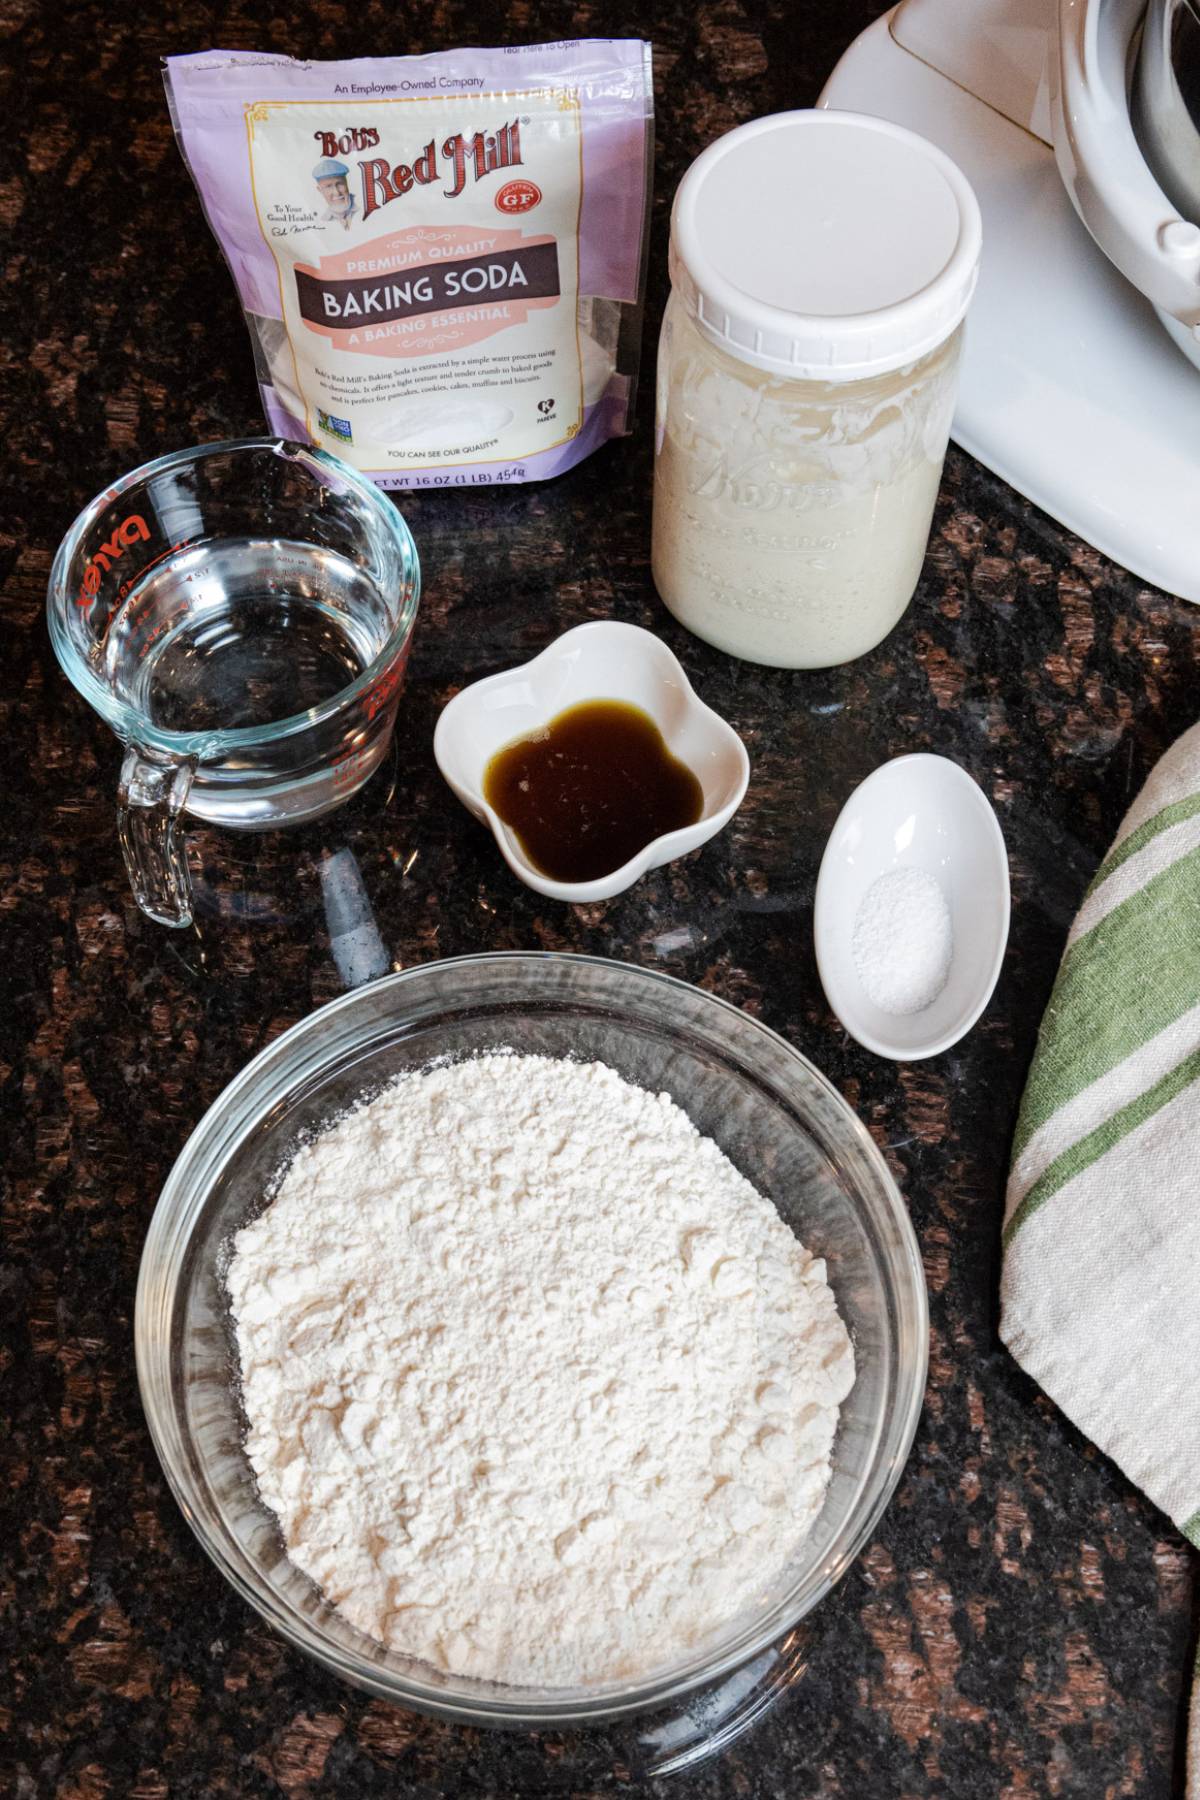
Sourdough Pretzel Ingredients
Sourdough starter. Fresh starter is a game changer when making sourdough soft pretzels.
All-purpose flour. I use organic all-purpose flour whenever I am baking.
Pure maple syrup. This helps the dough ferment while resting.
Salt. Sea salt or kosher salt for the pretzel dough and coarse salt to sprinkle on top.
Baking soda. You will use this in the boiling water to blanch the pretzels before baking.
Vegan butter (optional). For brushing on top. of the pretzels before adding salt.
optional topping to consider
- Onion flakes
- Cinnamon sugar
- Garlic powder
- Everything but the bagel seasoning
- nutritional yeast or vegan parmesan cheese
Example Schedule For Making Sourdough Pretzels
It is important to make sure your sourdough starter is active and fresh for this soft pretzel recipe. Here is how I schedule making sourdough pretzels.
Day 1. I pull my starter out of the fridge the day before I make these sourdough pretzels, feed it, and then let it sit on the kitchen counter for the rest of the day.
Day 2. The next day, in the morning, I feed the starter again and let it sit until early evening, at which time I prepare the pretzel dough and then let it rest overnight.
Day 3. The following morning, I roll, boil, and bake off the dough – oh, and then eat a few afterward!
How To Make Sourdough Pretzels
NOTE. For the exact measurements, full recipe, and nutritional information, please see the printable recipe card below.
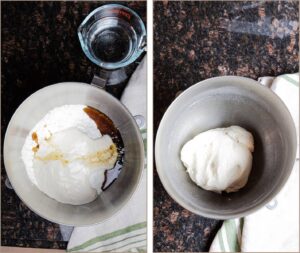
In the bowl of a stand mixer, add the flour, salt, maple syrup, sourdough starter, and water.
Mix the ingredients on low speed, scraping down the sides of the bowl as needed, until the sourdough pretzel dough is very smooth and pliable – about 8-10 minutes.
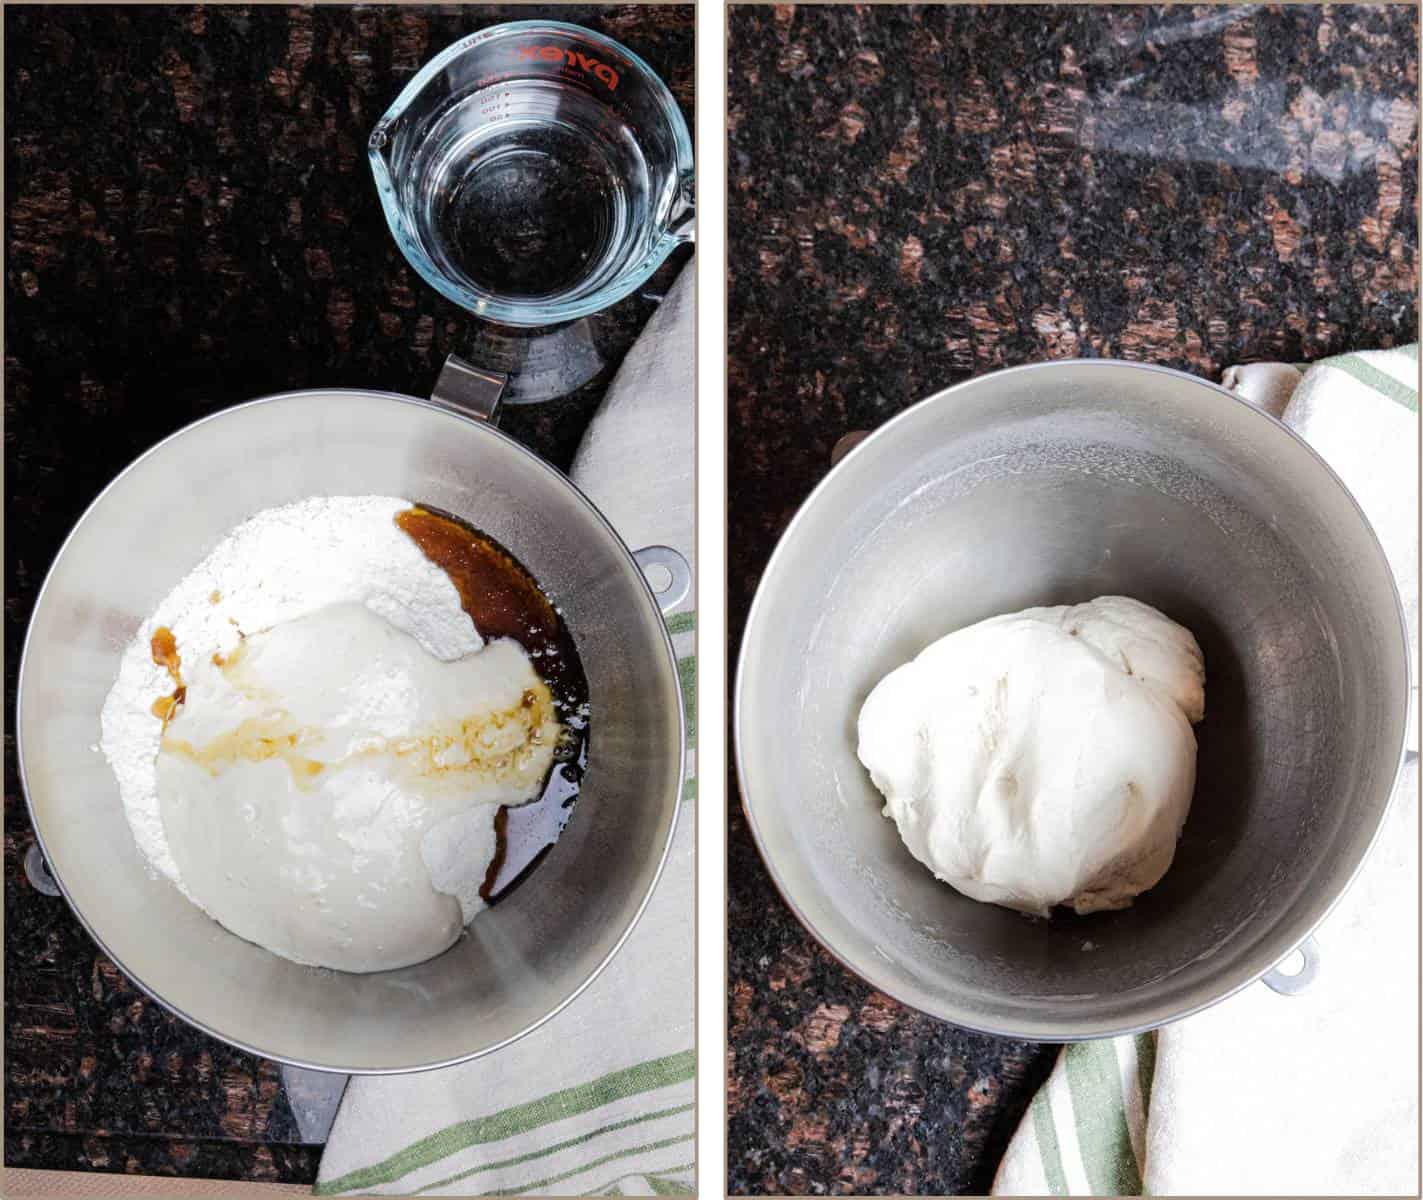
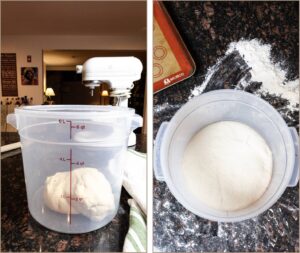
Place the dough in your food storage container, put the lid on tightly, and set aside to rest for 10-12 hours or overnight in a warm area of your home.
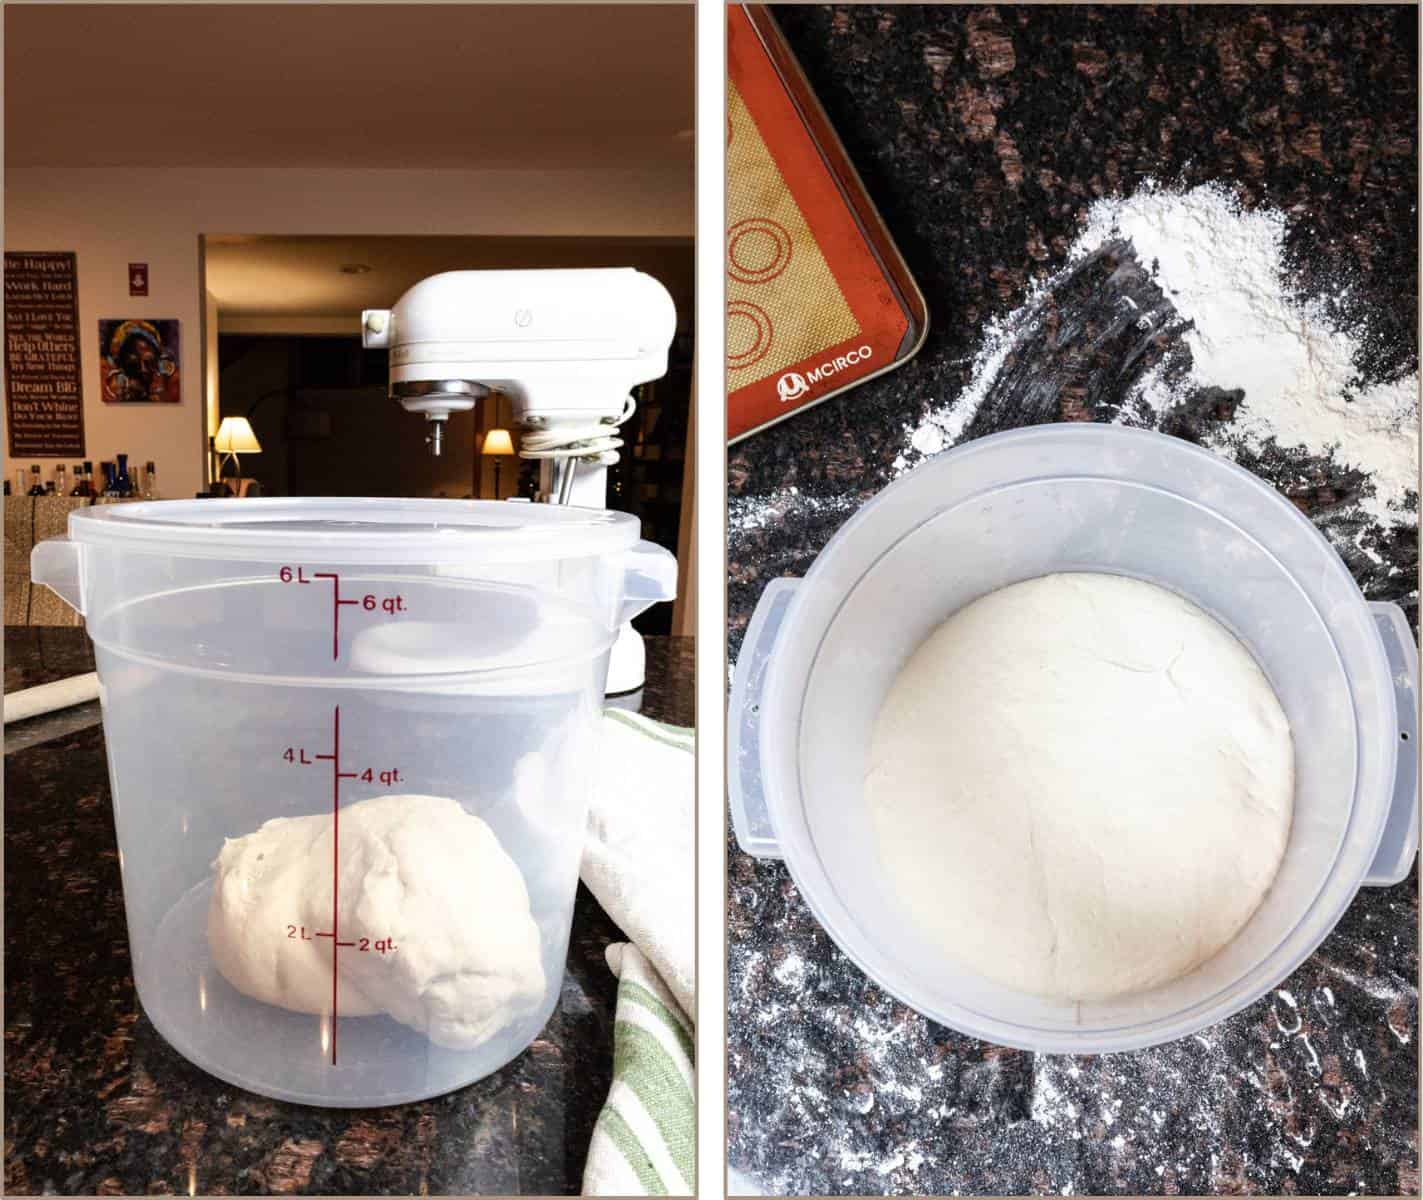
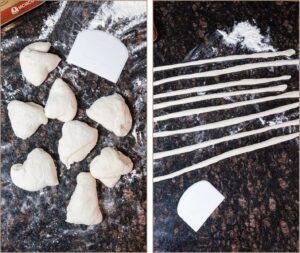
After the dough has rested, divide the dough into 8-10 equal pieces and roll each piece into a long rope about 12-15 inches long.
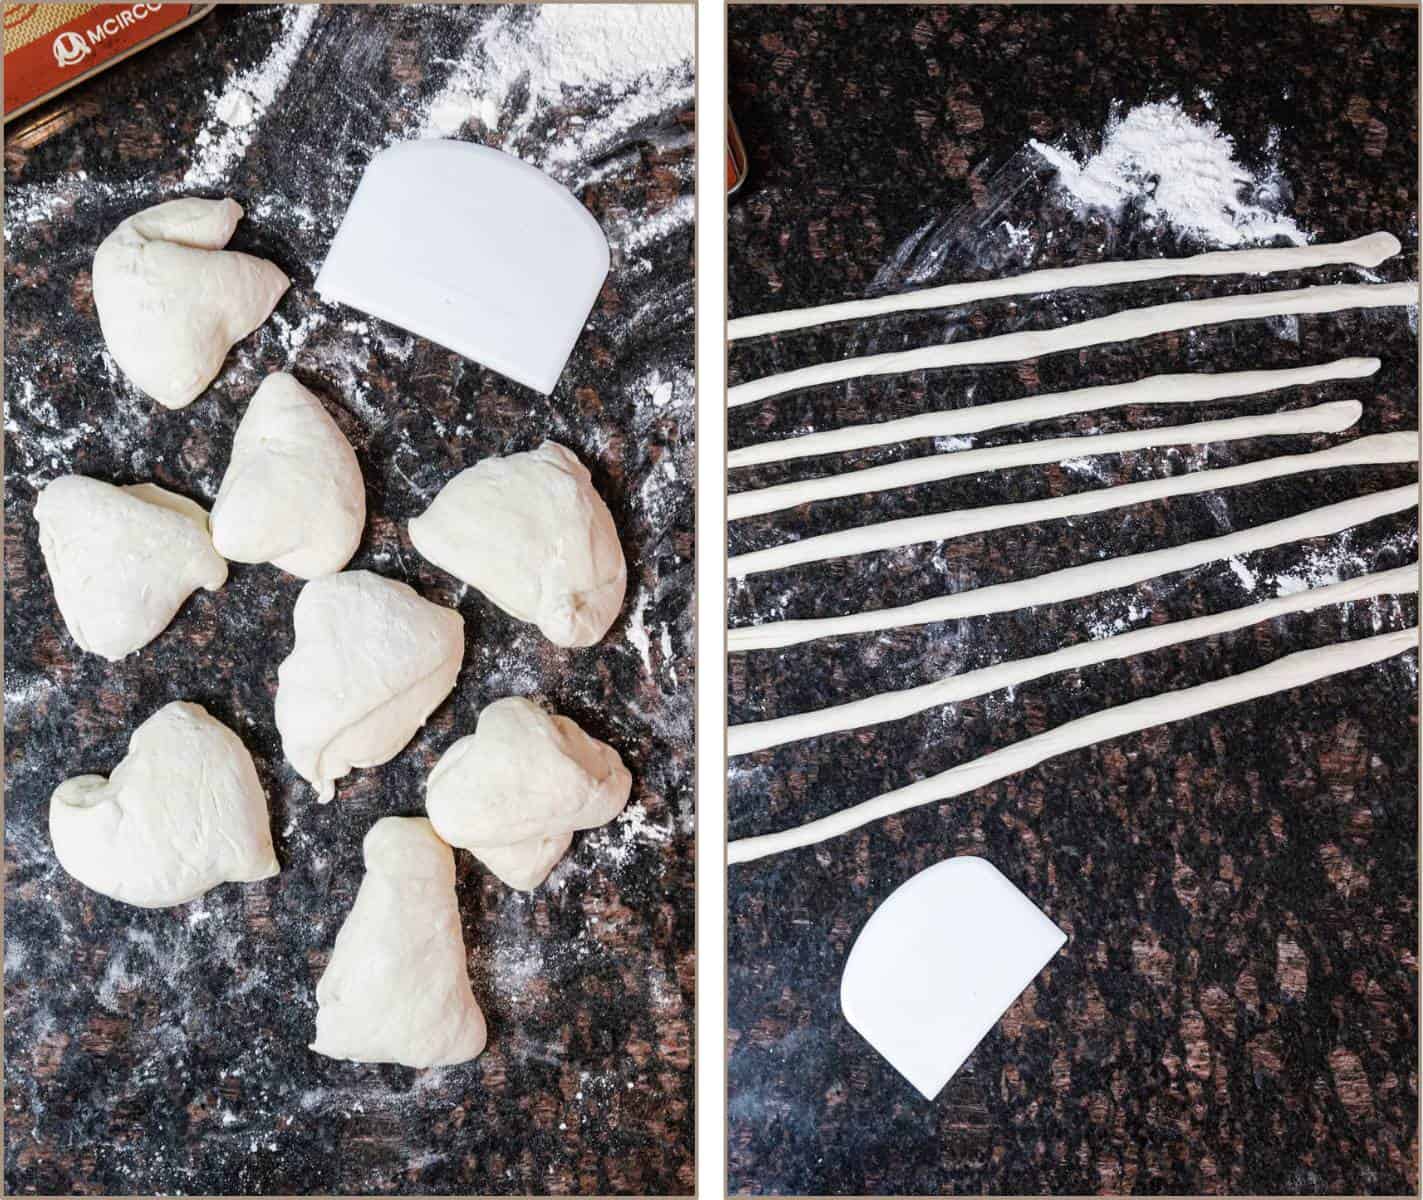
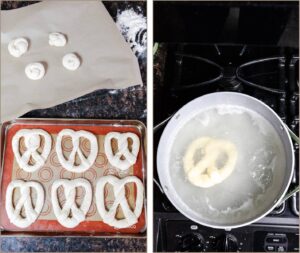
Twist each rope into a pretzel shape and place them onto a prepared baking sheet.
Cover the baking sheet with a damp towel and let the pretzels rest for one hour.
After the pretzels have rested, add baking soda to a pot of boiling water and dip each pretzel into the boiling water for about 30 seconds on each side, or until they start to float.
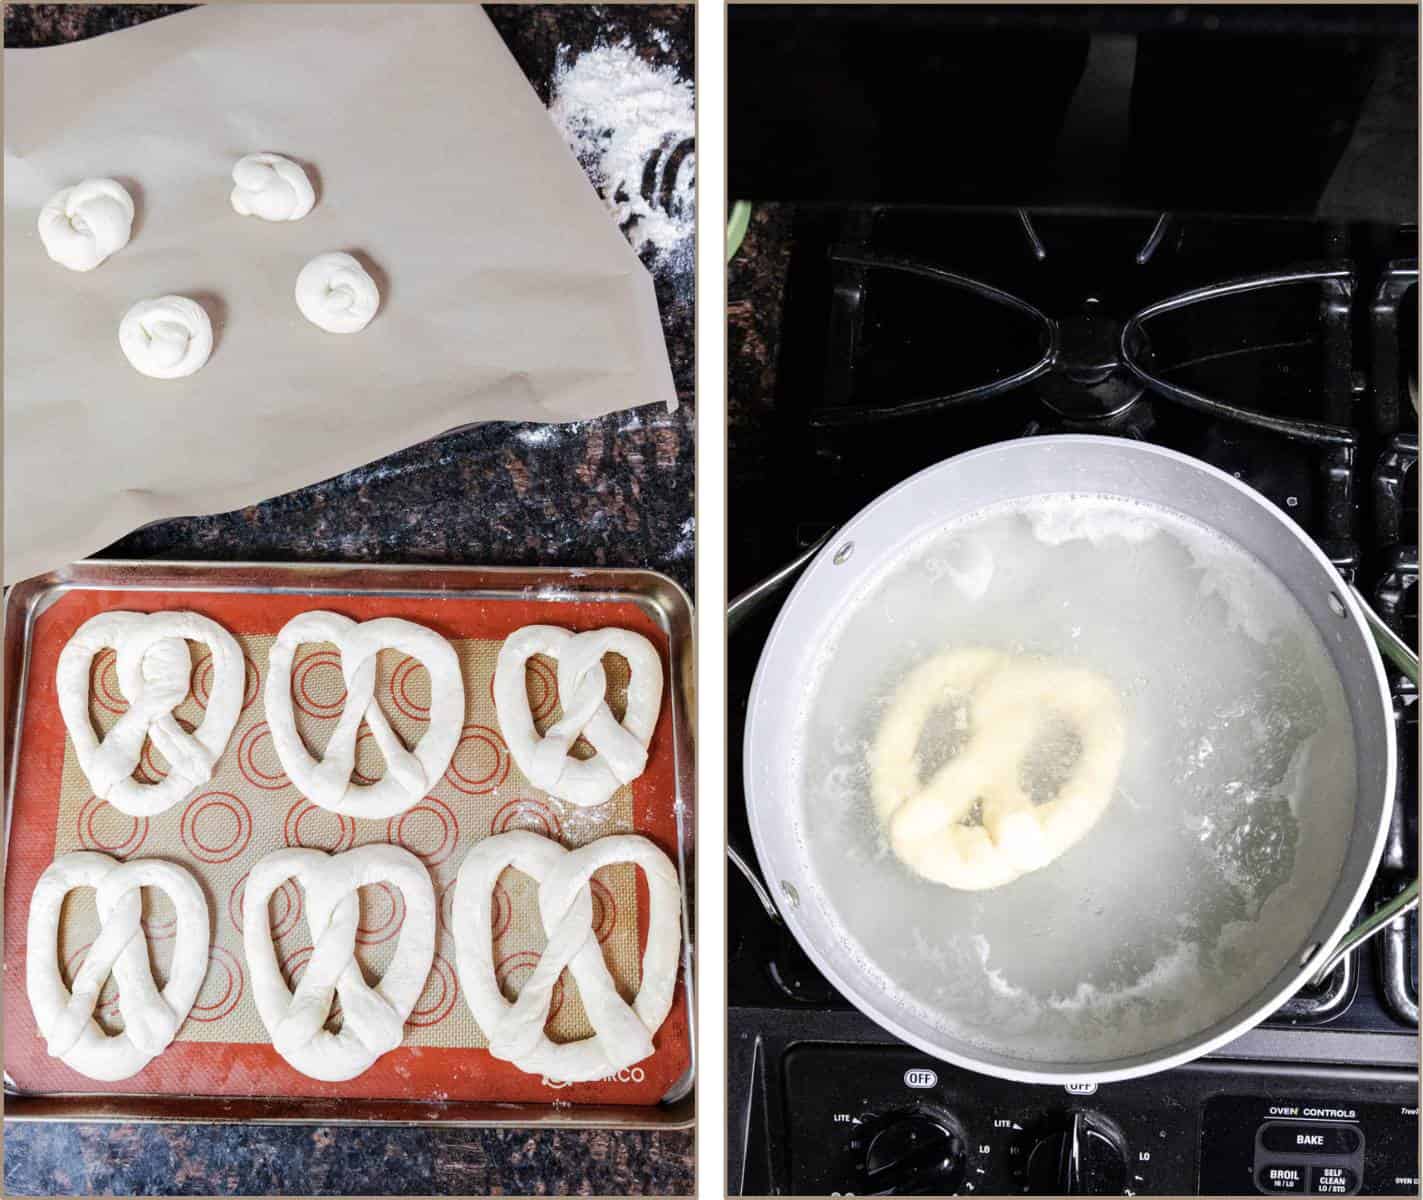
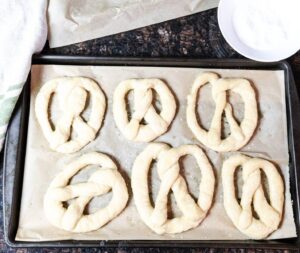
Place back on the prepared baking sheet and, using a small brush, lightly brush melted butter on the tops of each pretzel and sprinkle with coarse salt if desired.
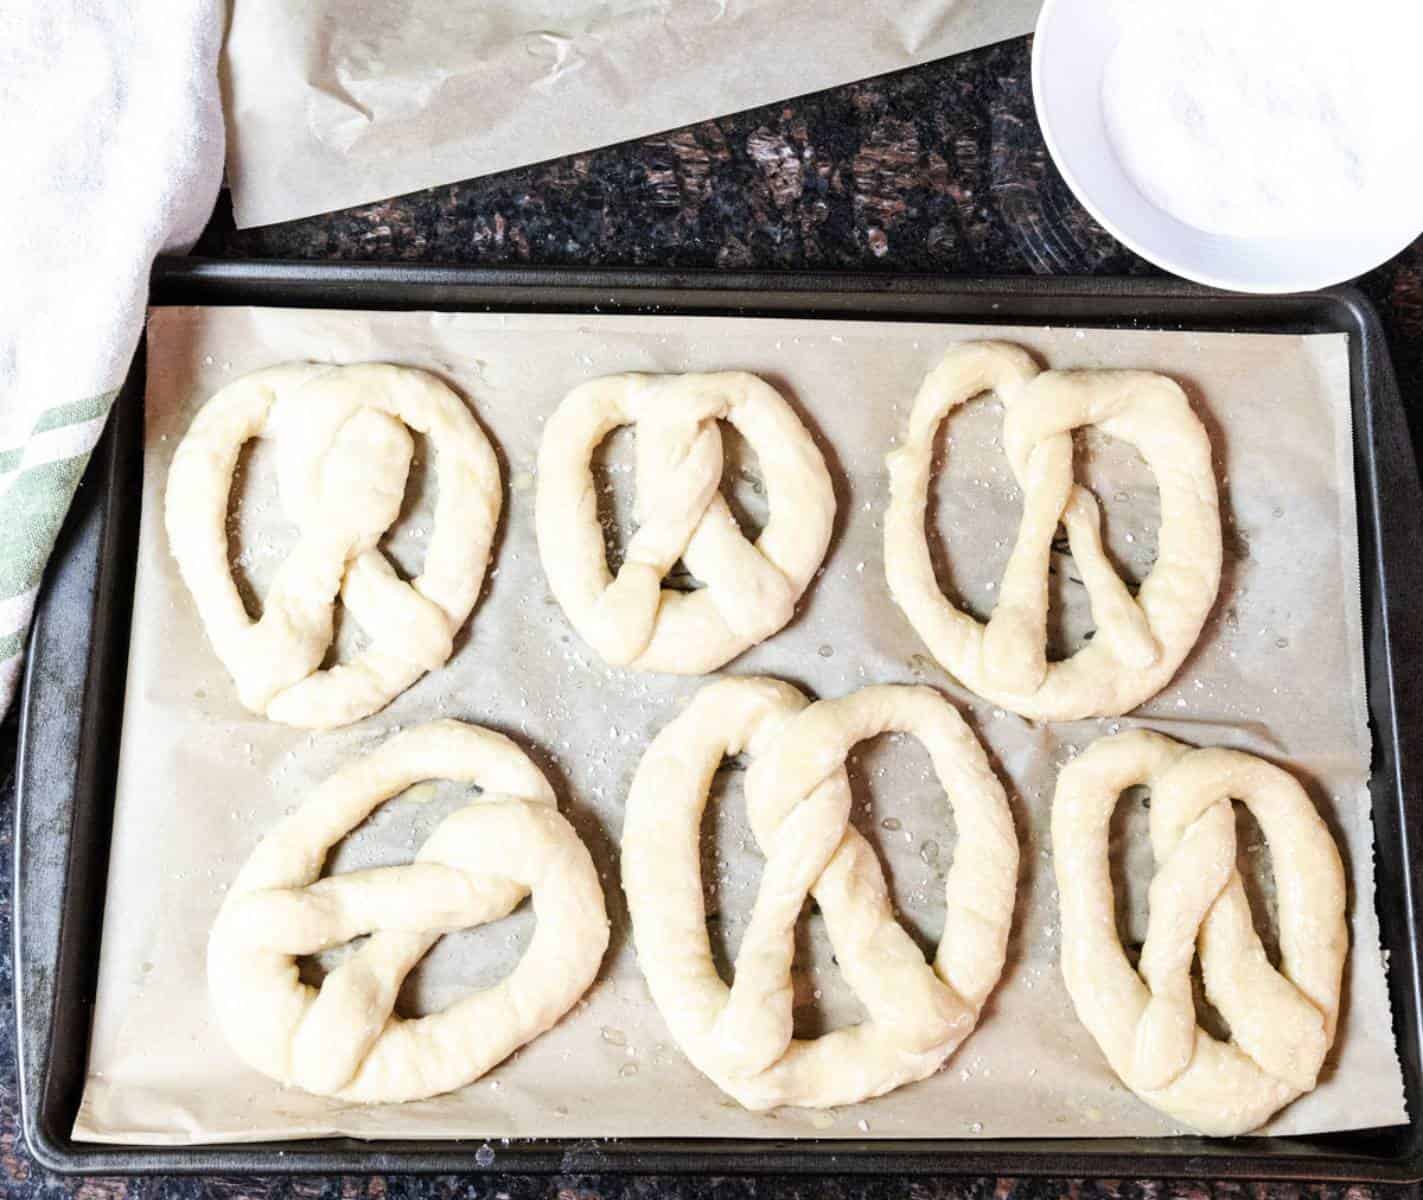
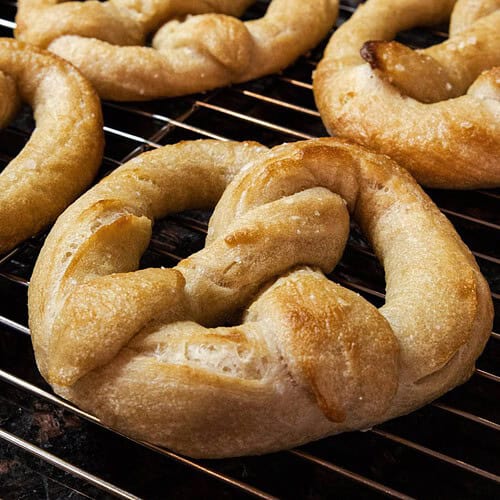
Place the pretzels in a preheated oven for approximately 15-20 minutes or until the tops of each pretzel are a deep golden brown.
When done, carefully take the baked pretzels out of the oven and transfer them to a cooling rack to cool to room temperature.
How To Store
These pretzels are best when stored in an airtight container. They will last 3-4 days on your kitchen counter.
You can also freeze them, and they will last in your freezer for 4-6 months.
Video: How To Make The Best Sourdough Pretzels
Additional DIY Delicious Recipes
- Easy Quick Pickled Red Onions
- DIY Green Powder: Make Super Greens Super Cheap
- DIY Instant Pot Non-Dairy Yogurt: Taste Test Winner
- No Garden? Best Cucumbers For Pickling From The Store

More Healthy Recipes and Caregiver Support
Let’s Connect
I hope you enjoyed this article and will give making sourdough pretzels a try. It truly is super fun and they are so easy to make.
QUESTION: What pretzel shape do you like to make the most? Traditional twists, pretzel knots, or some other fun shape? Or do you just go for the quick and easy sourdough pretzel bites?
Let me know in the comment section below. I’d love to hear from you.
Printable Recipe Card To Enjoy
The Best Soft Sourdough Pretzels
Equipment
- measuring cups and spoons
- silicone baking sheets – or unbleached parchment paper
- wire rack
- storage container
Ingredients
- 1/2 cup sourdough starter – make sure your starter has been fed prior, and is nice and bubbly.
- 3 cups all-purpose flour – I like to use organic flour.
- 2 tbsp pure maple syrup
- 1 tsp sea salt – or kosher salt.
- 2 tbsp baking soda
- 1 cup filtered water
- coarse salt (optional) – for the top of the pretzel.
- vegan butter (optional) – melted for the top of the pretzel.
Instructions
- In the stand mixer bowl, add the flour, salt, maple syrup, sourdough starter, and water.
- Attach the bowl to the stand mixer and begin blending using the bread attachment. Start low and go slow.
- Continue to blend, periodically scraping down the sides of the bowl, until the pretzel dough is very smooth and pliable.Use the windowpane test (See Recipe Notes below).NOTE: All together, the blending took me about 8-10 minutes.
- Place the dough in your food storage container, put the lid on securely, and set it aside to rest for 10-12 hours in a warm area of your home.
- After the dough has rested, take the pretzel dough out of the storage container and place it on a lightly floured surface.Using a bread cutter, divide the dough equally into 8 pieces.
- Roll each piece of dough into approximately 12-15-inch ropes.
- Twist each rope into a pretzel shape and place them onto a baking sheet that is lined with either a silicone baking sheet or parchment paper.
- Cover the baking sheet with a damp towel and let the pretzels rest for 1 hour.
- While the dough is resting, bring a large pot of water to a rolling boil.
- Preheat oven to 425 degrees Fahrenheit when there is about 15 minutes left of resting time.
- After the pretzel dough has rested, add 2 tablespoons of baking soda to the boiling water.
- Dip each pretzel into the boiling water for approximately 30 seconds on each side – or until the pretzels begin to float.Gently lift each pretzel out of the water and place them back onto the baking sheet.
- If using, lightly brush the tops of each pretzel with vegan butter and a sprinkle of salt.
- Place the pretzels in a preheated oven for approximately 15-20 minutes, or until the pretzels are a dark golden brown.
- Take the pretzels out of the oven and place on a cooling rack to cool to room temperature.ENJOY!
Notes
- Active starter. Make sure to use a very fresh and active sourdough starter.
- Windowpane Test. Stretch the dough out with your fingers and if you can see light shining through, then you are good to go.
- A warm place to rest. The pretzel dough should rest in a warm area of your home either overnight or for 10-12 hours.
- Rolling. To keep the dough from shrinking back too quickly, roll all of the dough into ropes first before shaping. This allows the gluten to rest before you start twisting the dough into pretzels.
- Blanching. Although it is not completely necessary to blanch the pretzels in boiling water before baking, I highly recommend you do not skip this step. It is what gives the pretzels that beautiful golden color.
- Make a large U-shape with your rope.
- Take each end and twist them together twice.
- Bring those ends down to the bottom part of your U-shape and press the ends lightly onto the bottom part of the dough.
- Repeat for each pretzel round.
- These pretzels are best when stored in an airtight container. They will last 3-4 days on your kitchen counter.
- You can also freeze them, and they will last in your freezer for 4-6 months.


