DIY Instant Pot Non-Dairy Yogurt: Taste Test Winner
Create a non-dairy yogurt masterpiece while using the Instant Pot. An easy, low-cost recipe that will save you money while indulging in a delicious creamy goodness treat.
Making your own non-dairy yogurt is not hard, and with the versatility of the Instant Pot and the rising popularity of plant-based yogurts, DIY-ing it at home is cheap, easy, and fun!
In this article, I will show you how to make Instant Pot Non-Dairy Yogurt. You will also learn the benefits of using an Instant Pot, the economic advantages of homemade yogurt alternatives, and the nutritional benefits of incorporating different yogurts into your daily routine.
This article may contain affiliate links for your convenience. Also, as an Amazon Associate, I earn from qualifying purchases at no extra cost to you. You can read the full disclosure policy.
Instant Pot Non-Dairy Yogurt Printable Recipe Card
DIY Instant Pot Non-Dairy Yogurt
Ingredients
Equipment
Method
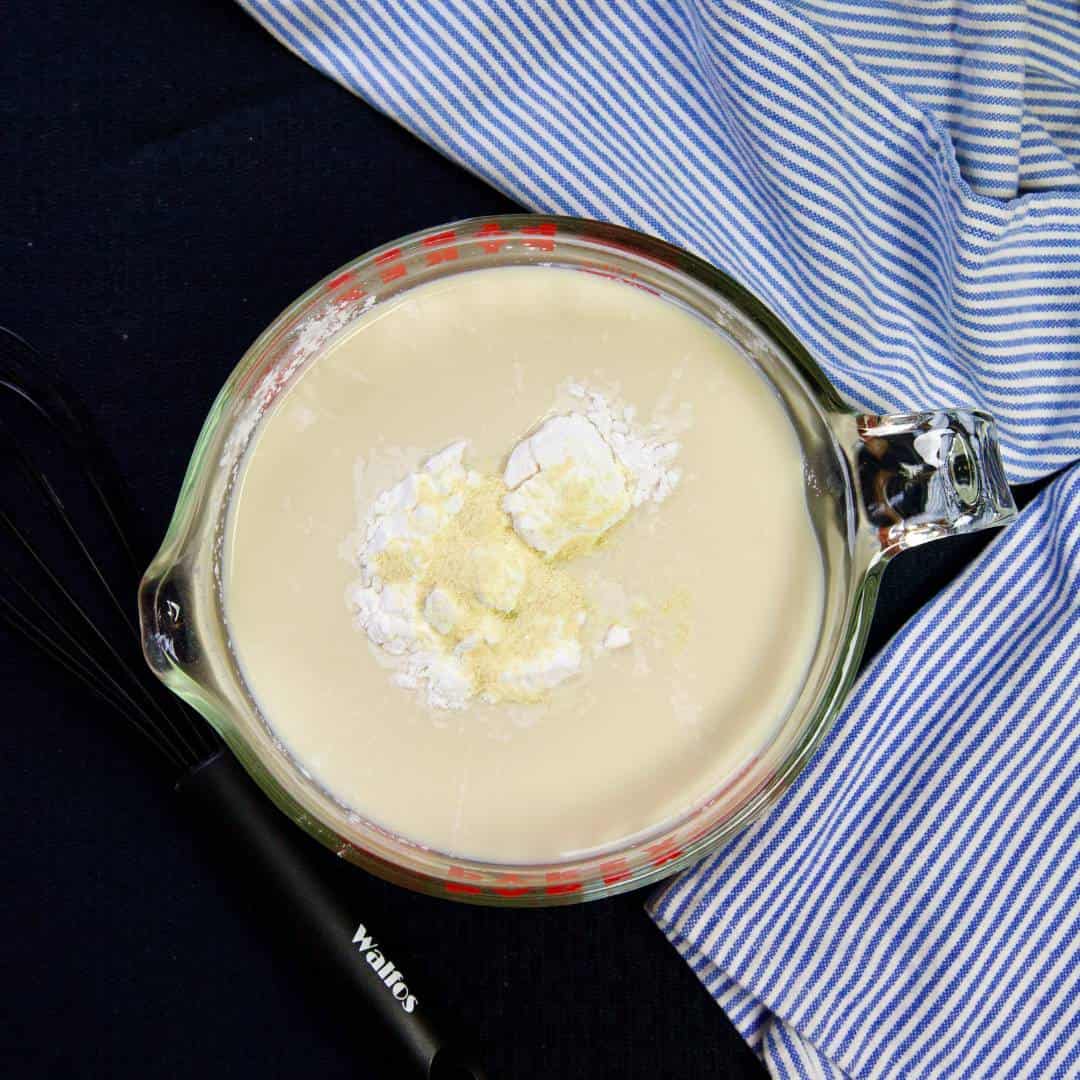
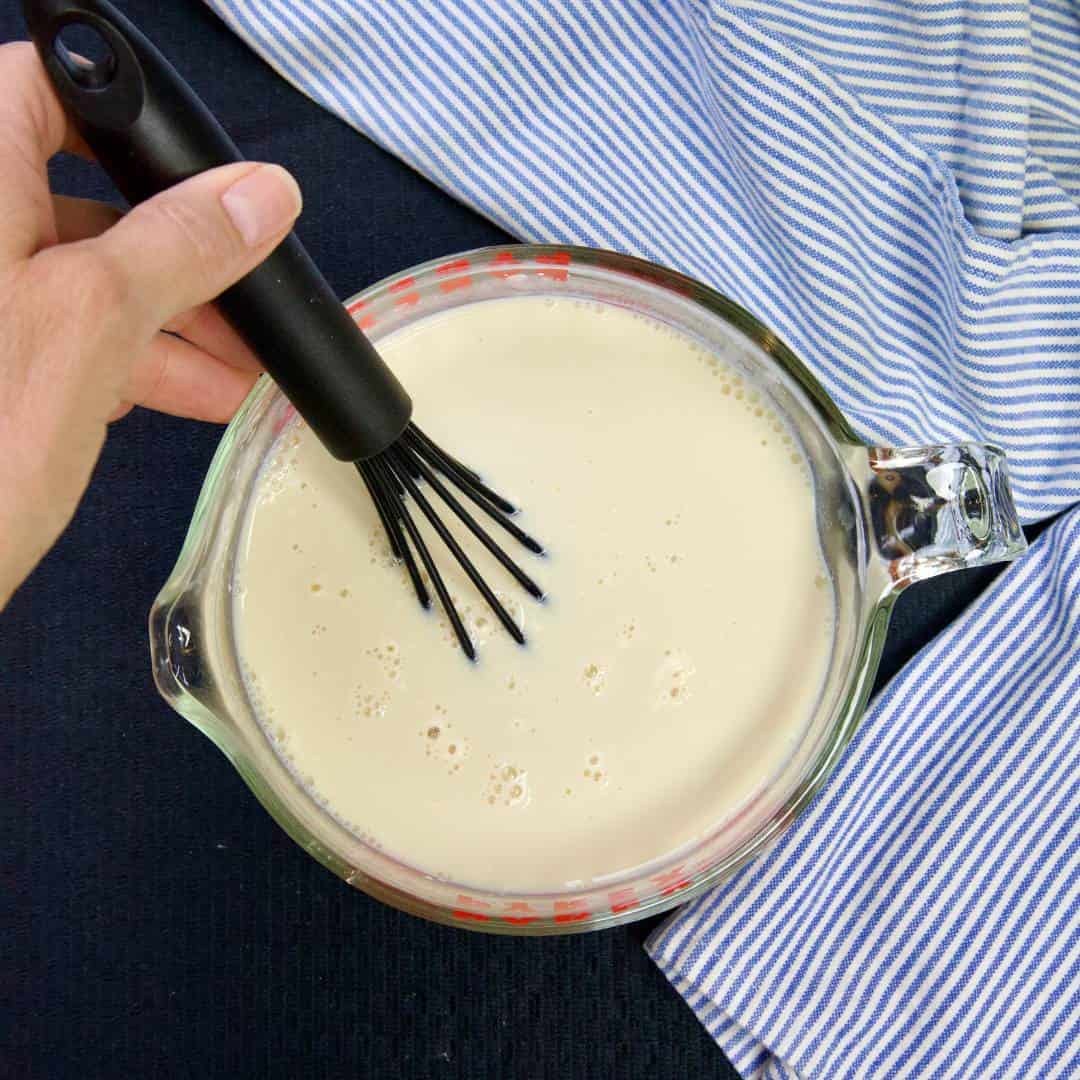
- Add the soy milk, yogurt starter (or unsweetened yogurt), and tapioca starch in a clean medium-sized mixing bowl. Whisk ingredients together until smooth and there are no clumps.
- Pour the mixture into very clean glass jars, I like to use two 16-ounce mason jars. Place the Instant Pot lid on securely, and plug the Instant Pot into a wall outlet.
- No need to set the pressure valve. It automatically sets when you seal the lid. This helps the temperature in the pot remain consistent.
- Select the yogurt setting on the Instant Pot.
- Set the timer.NOTE: If you are using the vegan yogurt starter granules, set the timer for 20 hours. If you are using the unsweetened yogurt, then set the timer for 12 hours.
- The Instant Pot will warm up and then begin cooking the yogurt.
- When the time is complete, the yogurt is done. Carefully turn and remove the Instant Pot lid.
- Gently remove the glass jars, place lids on each jar, and place in the fridge to set further.
- After a couple of hours, feel free to ENJOY!
Nutrition
Notes
- Some people choose not to use tapioca flour or any other kind of thickening agent. Personally, I find tapioca flour to be the best. It gives the nondairy yogurt a beautiful creamy consistency while also creating the perfect thick texture most quality yogurts have.
-
Before I measure out the soy milk, I make sure my measuring cup is extremely clean. I have even placed the measuring cup in the microwave for a couple of minutes to “sterilize” before using it, just to ensure it is very, very clean.
NOTE: There is no need to truly sterilize anything. Just make sure your glass jars and the inner Instant Pot container are very clean. - When you whisk all of the ingredients together, make sure to do so until all of the tapioca flour and starter has dissolved completely. This can take several minutes.
- Your soy milk and vegan yogurt starter should be at room temperature before using. That way it will dissolve together more readily.
- You may need to experiment with the time it takes for your yogurt to get to your desired taste, texture, and consistency. For me, depending on which starter method I used, it took anywhere from 12-20 hours. Your ingredients and Instant Pot may differ.
- The longer you ferment your non-dairy yogurt in the Instant Pot, the more tangy and sour it will taste. If the sourness is overpowering, try reducing the fermentation time in the Instant Pot next time. Also, make sure you are using only the freshest of ingredients and a clean Instant Pot to avoid off-flavors.
- This recipe makes approximately 4 cups so you can separate it and make four 1-cup individual servings or two 2-cup servings.
- It is best to store this delicious soy-based yogurt in a tightly sealed glass container in the fridge. It will last in the refrigerator for about 10 days.
Tried this recipe?
Mention @upsidelane or tag #upsidelane!Making Instant Pot Non-Dairy Yogurt At Home
I enjoy eating yogurt, but don’t usually buy it from grocery stores. Many brands are of poor quality and packed with processed ingredients and added sugar.
Plus, yogurt in the grocery store is expensive, especially when you look at the ingredients and learn how to make the best vegan yogurt at home.
As a caregiver for my beloved Doug, who has Parkinson’s, and as a busy lifestyle medicine consultant and health coach, I am a big fan of making meals in an Instant Pot, especially non-dairy yogurt.

The Convenience of Instant Pot Yogurt Making
The Instant Pot is a meal prep lifesaver for those with busy schedules. Its versatility streamlines the yogurt-making process and requires little effort, which is always a plus.
Making regular yogurt the conventional way requires precise temperature control and continuous monitoring. Using an Instant Pot automates the process so you don’t have to fuss in the kitchen for hours.
Whether you are a care provider professional, an unpaid caregiver caring for a loved one like me, or a parent juggling many responsibilities, the Instant Pot will be your best friend in the kitchen when making delicious homemade yogurt.
Cost Effectiveness of Homemade Non-Dairy Yogurt
Making non-dairy yogurt at home is the clear winner regarding cost. A single batch made in the Instant Pot costs only a fraction of what is on the market today in grocery stores.
When using simple, preferably organic, ingredients such as soy milk, almond milk, oat milk, or cashew milk, you can make the best dairy-free yogurt with a creamy texture and tangy flavor, all at minimal expense.
Plus, by making yogurt at home, you have control over the ingredients you put into it, which ensures your non-dairy yogurt is free from added sugar and artificial flavors commonly found in commercial brands.
Ingredients Needed To Make Instant Pot Non-Dairy Yogurt
INGREDIENTS NEEDEDUnsweetened Soy Milk. I prefer a certified organic type of soy milk, one that is free of herbicides, pesticides, and other toxic pollutants. I also try to find soymilk that has nothing but soybeans and water. If you have time, you can make your own.
NOTE: You can experiment with other nondairy milks, but I have had the most success using soymilk. Plus, the protein content in soymilk is great, and it has cancer-preventative properties, especially for women going through menopause or who are already post-menopausal. That works for me!
Vegan Yogurt Starter. It is important to look for the best quality vegan yogurt starter you can find. Preferably one that contains many live active cultures such as l.bulgaricus, s.thermophilus, l.plantarum, l.acidophilus, and more.
OR
Unsweetened soy yogurt. If you cannot find a yogurt starter, you can use a few tablespoons of organic unsweetened soy yogurt instead. A good quality yogurt will also contain the healthy active cultures you need for fermentation.
Tapioca Starch. This helps give yogurt its thick consistency and creamy texture, and you only need a little bit. Some people use other thickeners such as potato starch, locust bean gum, or arrowroot powder, but I have had the best luck with tapioca starch, which is also known as tapioca flour.
Step-by-Step Guide To Making Non-Dairy Yogurt In An Instant Pot
Setting up the instant potStep 1. Add the soy milk, yogurt starter (or unsweetened yogurt), and tapioca starch to a clean medium-sized mixing bowl. Whisk ingredients together until smooth and without clumps.
Step 2. Pour the mixture into very clean glass jars. I like to use two 16-ounce mason jars and carefully set them directly into the Instant Pot inner pot.
NOTE: There is no need to put them on a rack.

Step 3. Place the Instant Pot lid on securely, and plug the Instant Pot into a wall outlet.
NOTE: There is no need to set the pressure valve. It automatically sets when you seal the lid. This helps the temperature in the pot remain consistent.
Step 4. Select the yogurt setting on the Instant Pot.

Step 5. Set the timer.
NOTE 1: If you are using the vegan yogurt starter granules, set the timer for 20 hours. If you are using the unsweetened yogurt, then set the timer for 12 hours.
NOTE 2: The default time for the yogurt setting is 8 hours, so you will have to make the timer change manually.
Cooking InstructionsThe Instant Pot will warm up and then begin cooking the yogurt.
When the time is complete, the yogurt is done. Carefully turn and remove the Instant Pot lid.
Gently remove the glass jars, place lids on each jar, and place them in the fridge to set further.
After a couple of hours, feel free to ENJOY!
How To Store
This recipe makes approximately 4 cups, so you can separate it and make four 1-cup individual servings or two 2-cup servings, whatever you wish!
It is best to store this delicious soy-based yogurt in a tightly sealed glass container in the fridge. It will last in the refrigerator for about 10 days.
Tips For Success
Some people choose not to use tapioca flour or any other type of thickening agent. Personally, I find tapioca flour to be the best. It gives the nondairy yogurt a beautiful creamy consistency while creating the perfect thick texture most quality yogurts have.
Before I measure the soy milk, I make sure my measuring cup is extremely clean. I have even placed the measuring cup in the microwave for a couple of minutes to “sterilize” before using it, just to ensure it is very, very clean.
NOTE: There is no need to truly sterilize anything. Just make sure your glass jars and the inner Instant Pot container are very clean.

When you whisk all of the ingredients together, ensure that all of the tapioca flour and starter have dissolved completely. This can take several minutes.
Your soy milk and vegan yogurt starter should be at room temperature before using. That way it will dissolve together more readily.
You may need to experiment with the time it takes for your yogurt to get to your desired taste, texture, and consistency. For me, depending on which starter method I used, it takes anywhere from 12-20 hours. Your ingredients and the time in the Instant Pot may differ.
The longer you ferment your non-dairy yogurt in the Instant Pot, the more tangy and sour it will taste. If the sourness is overpowering, try reducing the fermentation time in the Instant Pot next time. Also, make sure you are using only the freshest of ingredients and a clean Instant Pot to avoid off-flavors.
Nutritional Benefits Of Non-Dairy Yogurt
Non-dairy yogurt holds many nutritional benefits and is a great addition to your daily diet.
One 8-ounce jar of homemade soy yogurt contains 7 grams of protein and is a good source of calcium and vitamin D.
With so many non-dairy yogurt options available, including soy-based yogurt, almond milk yogurt, and oat milk yogurt, there is a dairy-free yogurt alternative to cater to every person’s taste and dietary preference.
Flavor Variations And Customizations
The wonderful thing about making yogurt at home is that it is incredibly versatile. Whether you crave a zest of lemon or vanilla flavor, the non-dairy yogurt possibilities are endless.
Based on your taste buds and personal preference, you can experiment with different fruits, nuts, and sweeteners to make the ideal non-dairy blend combo.
Here are some flavorful combinations to consider.
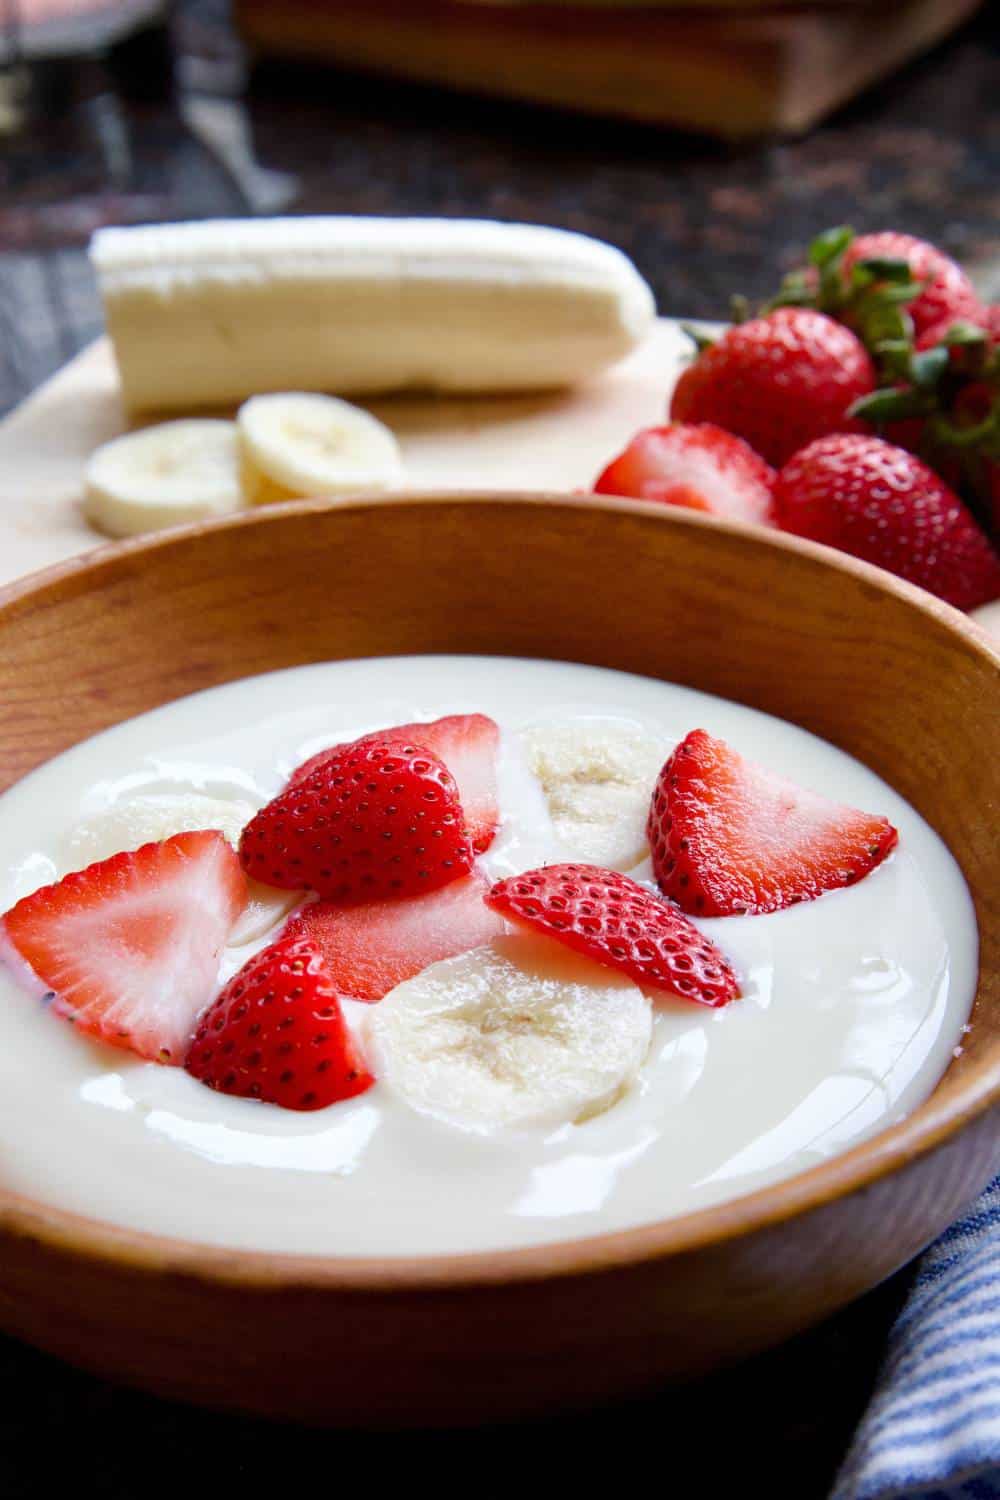
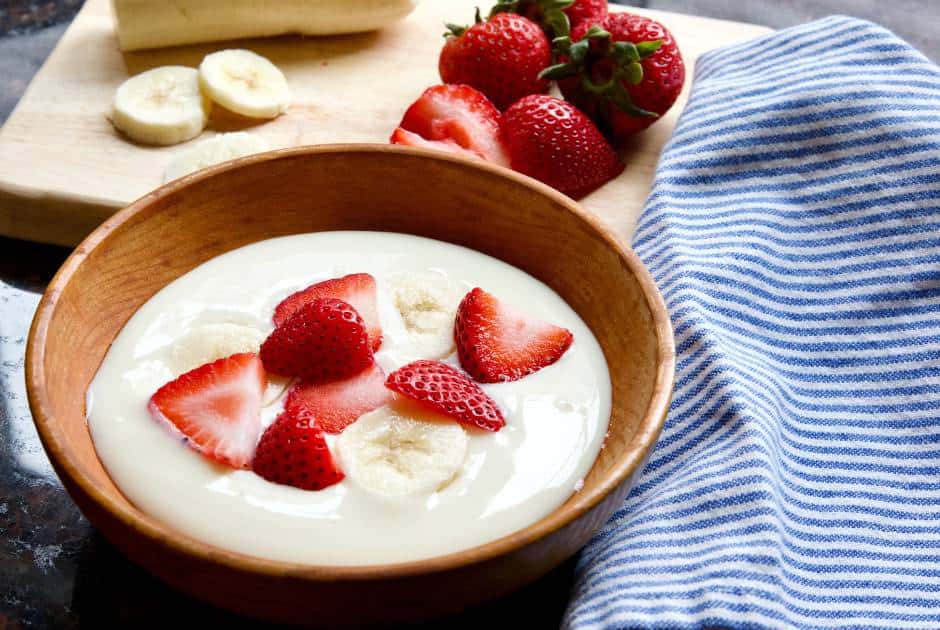
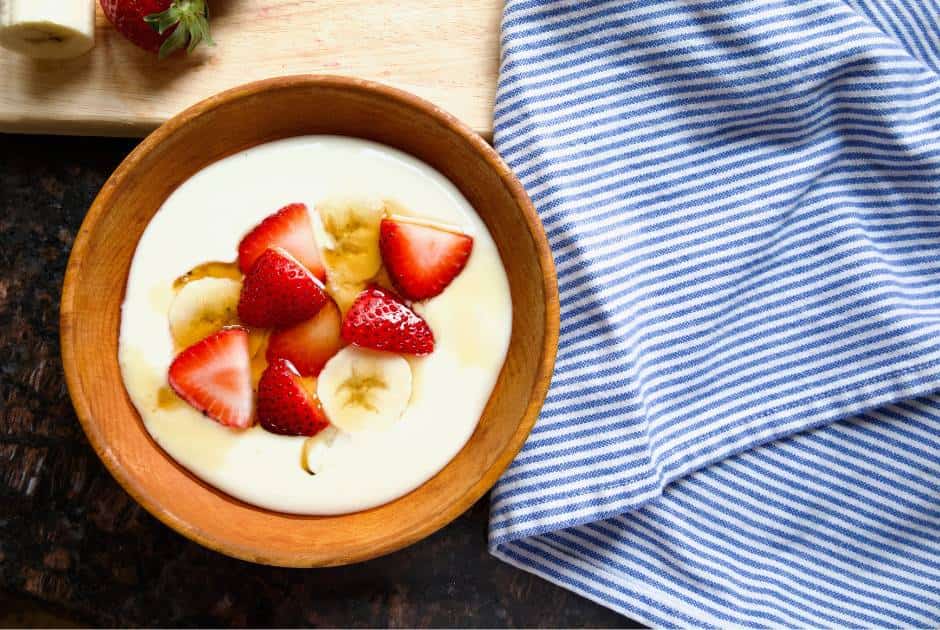
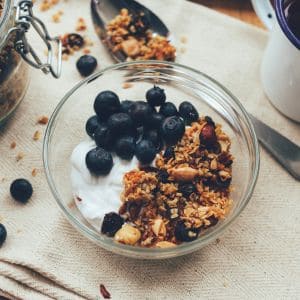
- Berry Bliss. A combination of plain yogurt and a handful of mixed berries such as blueberries, strawberries, raspberries, or blackberries. Add a touch of sweetness with either a drizzle of maple syrup or honey, and then sprinkle with granola or chopped nuts for crunch.
- Tropical Paradise. Non-dairy plain yogurt, tropical fruits such as pineapple, mango, or kiwi. A squeeze of fresh lime and shredded coconut.
- Cinnamon Apple Crunch. Start with plain non-dairy yogurt, add diced apples, cinnamon, caramel or maple syrup, and a handful of granola.
- Lemon Blueberry Zing. Plain non-dairy yogurt, fresh blueberries, maple syrup or honey, and a squeeze of lemon juice. Add a bit of lemon zest for an extra burst of flavor.
- Chocolate Peanut Butter Goodness. Start with plain non-dairy yogurt, add a dollop of creamy peanut butter, and a bit of cacao or cocoa powder. Add a drizzle of honey and a few mini vegan chocolate chips for added texture.
Non-Dairy Yogurt Serving Suggestions
Once you’ve mastered making Instant Pot non-dairy yogurt, it’s simple to create variations and use it as an ingredient for a variety of recipes.
For example, you can use homemade non-dairy yogurt as a base for smoothies, parfaits, and even frozen homemade yogurt, which tastes just like ice cream!
Add non-dairy yogurt to your favorite recipes for depth, creaminess, and additional nutritional goodness.
Dairy-free yogurt also makes for an excellent dip when herbs and spices are added, such as garlic powder, onion powder, dill, parsley, or chives.
FAQs
If your Instant Pot is not reaching pressure, it may be due to several reasons. First, ensure that the sealing ring is properly installed and that the venting knob is set to the “Sealing” position. Also, check that the silicone gasket is clean and free from debris. If the issue continues, try adding more liquid to the pot or reducing the quantity of yogurt mixture to allow for better pressure buildup.
There are a few ways to thicken up your too-thin yogurt. You can strain the yogurt using a cheesecloth or a nut milk bag to remove some of the excess liquid. Or, the next time, consider adding more tapioca flour to the mixture before incubating the yogurt to help it set firmer.
Yes, you can! Non-dairy yogurt is very versatile. To add flavor, try mixing in ingredients such as vanilla extract, cocoa powder, or fruit purees. You can also experiment with spices such as cinnamon, nutmeg, or cardamom for a unique twist.
There could be several reasons for lumpy yogurt, such as insufficient mixing of the yogurt starter into the milk or inconsistent temperature during the incubation process. To prevent lumps, thoroughly whisk the yogurt starter into the milk until completely smooth before putting it in the Instant Pot. Also, make sure that the Instant Pot maintains a consistent temperature throughout the fermentation period. Stir the yogurt gently when the time is done to distribute any remaining lumps before chilling.
Yes, you can use store-bought yogurt with live active cultures as a starter for making homemade yogurt. Look for plain non-dairy yogurt with “live active cultures” listed in the ingredients. Also, make sure to check the expiration date to ensure the yogurt is fresh. When you use a small amount of store-bought yogurt as a starter, it helps kick-start the fermentation process and ensures that your homemade nondairy yogurt develops the proper texture and flavor.
5-Day Rejuvenation Diet & Guide
Jumpstart your health with the Rejuvenation Diet. A 5-day program designed to help you springboard into a healthy lifestyle.
Additional Instant Pot Recipes
More Healthy Recipes and Wellness Support

Let’s Connect
I hope you find this article helpful and you try making Instant Pot Non-Dairy Yogurt.
Please consider sharing your thoughts in the comment section below and give this recipe a 5-star rating! I’d love to know how it goes if you make this recipe. I read every comment and will reply promptly.
My little has a cows milk protein and a soy allergy. I had no idea vegan yogurt starter was a thing! I’ll have to try this with coconut milk. So excited!!
Oh yes, and it’s a great thing…haha! If you use coconut milk, just know you MAY need to double the tapioca flour. Out of all the plant-based milks, soy milk thickens the easiest. Coconut milk may be second however because of the high saturated fat content. Experiment, and let me know how it goes!
What a great post! So informational! Thank you!
You are most welcome, and thank you for your support!
Thanks for the recipe! I’ve had to go dairy-free when nursing my babies and it can be hard to find good dairy alternatives – but this looks tasty!
Yes it can – especially ones that don’t have a lot of preservatives and fillers in them. Once you get the hang of it, it’s quite easy to make a lot of dairy-free products from scratch! Best of luck to you and thank you for your support.
I love this vegan health option! Thanks for sharing such an easy recipe!
This sounds so easy and delicious! I will have to give this a try soon. Do you know if this could be done in a regular pressure cooker?
Hi Anna, I have not tried it in a pressure cooker but I would imagine it could. The timing might be slightly different but I would experiment and see!
Thank you for such a thorough description on how to make vegan yogurt— I will be coming back to this, for sure!
You are most welcome Rebekah. Thank you for your support!
I now make this every Sunday and am obsessed! I’ve never loved the vegan options for yogurt at the store and this one is perfect and has so much protein. I love!!
Oh I’m so glad! Yes I too am kind of obsessed. I’m eating it everyday. Good for probiotics and gut health too!